Quickly expose a website and static files
Tutorial
After completing these steps, you will be able to statically expose any kind of files from an archive.
Before your start
If you already have an up and running otoroshi instance, you can skip the following instructions
Let’s start by downloading the latest Otoroshi.
curl -L -o otoroshi.jar 'https://github.com/MAIF/otoroshi/releases/download/v17.13.0/otoroshi.jar'
then you can run start Otoroshi :
java -Dotoroshi.adminPassword=password -jar otoroshi.jar
Now you can log into Otoroshi at http://otoroshi.oto.tools:8080 with admin@otoroshi.io/password
Create a new route, exposed on http://myservice.oto.tools:8080, which will forward all requests to the mirror https://request.otoroshi.io. Each call to this service will returned the body and the headers received by the mirror.
curl -X POST 'http://otoroshi-api.oto.tools:8080/api/routes' \
-H "Content-type: application/json" \
-u admin-api-apikey-id:admin-api-apikey-secret \
-d @- <<'EOF'
{
  "name": "my-service",
  "frontend": {
    "domains": ["myservice.oto.tools"]
  },
  "backend": {
    "targets": [
      {
        "hostname": "request.otoroshi.io",
        "port": 443,
        "tls": true
      }
    ]
  }
}
EOF
Create an archive with HTML and CSS files
Let’s start by creating an archive composed of html and css files.
The contents of your index.html file should be likes this:
<!DOCTYPE html>
<html>
<head>
  <title>Wasmo plugin</title>
  <link rel="stylesheet" type="text/css" href="/index.css"/>
</head>
<body>
  <h1>Hello from Wasmo</h1>
</body>
</html>
The contents of your index.css file should be likes this:
body {
  background: #f9b000;
  display: flex;
  justify-content: center;
  align-items: center;
  height: 100dvh;
}

h1 {
  font-size: 3rem;
  color: #fff;
}
Once created, you can create the archive of both.
zip bundle.zip index.html index.css
Use the Zip Backend Plugin
Let’s create the route using the Otoroshi admin API. The route content is pretty simple, a few fields about the name and the frontend, and the Zip Backend plugin in the plugins list.
Don’t forget to change the default path-to-the-zip-file with your path.
curl -X POST 'http://otoroshi-api.oto.tools:8080/api/routes' \
-H "Content-type: application/json" \
-u admin-api-apikey-id:admin-api-apikey-secret \
-d @- <<'EOF'
{
  "name": "demootoroshi",
  "frontend": {
    "domains": ["demo-otoroshi.oto.tools"]
  },
  "backend": {
    "targets": [
      {
        "hostname": "request.otoroshi.io",
        "port": 443,
        "tls": true
      }
    ]
  },
  "plugins": [
    {
      "enabled": true,
      "debug": false,
      "plugin": "cp:otoroshi.next.plugins.ZipFileBackend",
      "include": [],
      "exclude": [],
      "config": {
        "url": "file://<path-to-the-zip-file>/bundle.zip",
        "headers": {},
        "dir": "./zips",
        "prefix": null,
        "ttl": 3600000
      }
    }
  ]
}
EOF
Calling the route in a new browser tab at http://demo-otoroshi.oto.tools:8080/. You should see something like the following image:
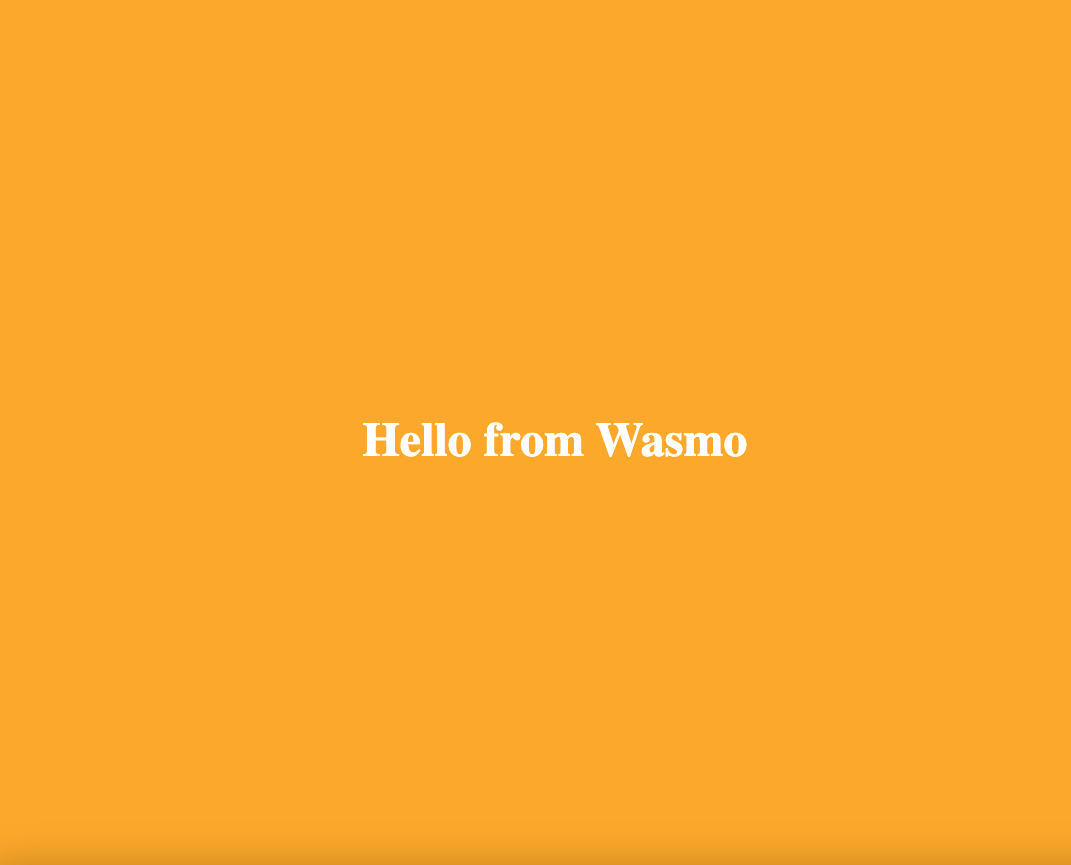
As we can see, the content of the archive is available, our HTML page is served and the CSS, linked into the HTML page, has loaded.
You can check this behaviour by calling the following path:
curl http://demo-otoroshi.oto.tools:8080/index.css -v
The result should be like:
< HTTP/1.1 200 OK
< Transfer-Encoding: chunked
< Content-Type: text/css
<
body {
  background: #f9b000;
  display: flex;
  justify-content: center;
  align-items: center;
  height: 100dvh;
}

h1 {
  font-size: 3rem;
  color: #fff;
}
Congratulations - You have just exposed your first archive. Do not hesitate to expose any type of content.