Create your first API
This guide walks you through creating your first API in Otoroshi. You’ll learn how to define reusable backends, declare plugin flows that can be applied across different routes, manage consumers and subscriptions, and track the state of an API throughout its lifecycle.
Why use APIs instead of routes?
Think of an API in Otoroshi as a way to group one or more routes into a single service you can manage. Routes still do the work of matching requests and forwarding them, but an API lets you organize them together, with optional shared backends or HTTP settings. You can work in draft mode to test changes with real traffic before publishing, and every deployment is tracked so you can see what changed. You can attach consumers to control access, manage subscriptions, and even provide documentation or a developer portal. Routes move the traffic, and APIs give you the tools to manage, secure, and present it as a proper, versioned service.
Prerequisites
If you already have an up and running otoroshi instance, you can skip the following instructions
Let’s start by downloading the latest Otoroshi.
curl -L -o otoroshi.jar 'https://github.com/MAIF/otoroshi/releases/download/v17.13.0-dev/otoroshi.jar'
then you can run start Otoroshi :
java -Dotoroshi.adminPassword=password -jar otoroshi.jar
Now you can log into Otoroshi at http://otoroshi.oto.tools:8080 with admin@otoroshi.io/password
Create a new route, exposed on http://myservice.oto.tools:8080, which will forward all requests to the mirror https://request.otoroshi.io. Each call to this service will returned the body and the headers received by the mirror.
curl -X POST 'http://otoroshi-api.oto.tools:8080/api/routes' \
-H "Content-type: application/json" \
-u admin-api-apikey-id:admin-api-apikey-secret \
-d @- <<'EOF'
{
  "name": "my-service",
  "frontend": {
    "domains": ["myservice.oto.tools"]
  },
  "backend": {
    "targets": [
      {
        "hostname": "request.otoroshi.io",
        "port": 443,
        "tls": true
      }
    ]
  }
}
EOF
Import an API from OpenAPI
The quickest way to get started is by importing an existing API from an OpenAPI specification. In this tutorial, we’ll use the Petstore API as an example.
- Navigate to the APIs page at
/bo/dashboard/apis - Click Create new API
- Select Import OpenAPI
- Click Read information from OpenAPI URL to load the default Petstore API
- Update the server configuration with the following values:
yaml
   hostname: petstore3.swagger.io
   root URL: /api/v3/
Don’t forget the trailing slash in the root URL.
- Click Create to finish importing your API
You should now see your API dashboard with the imported routes and configuration.
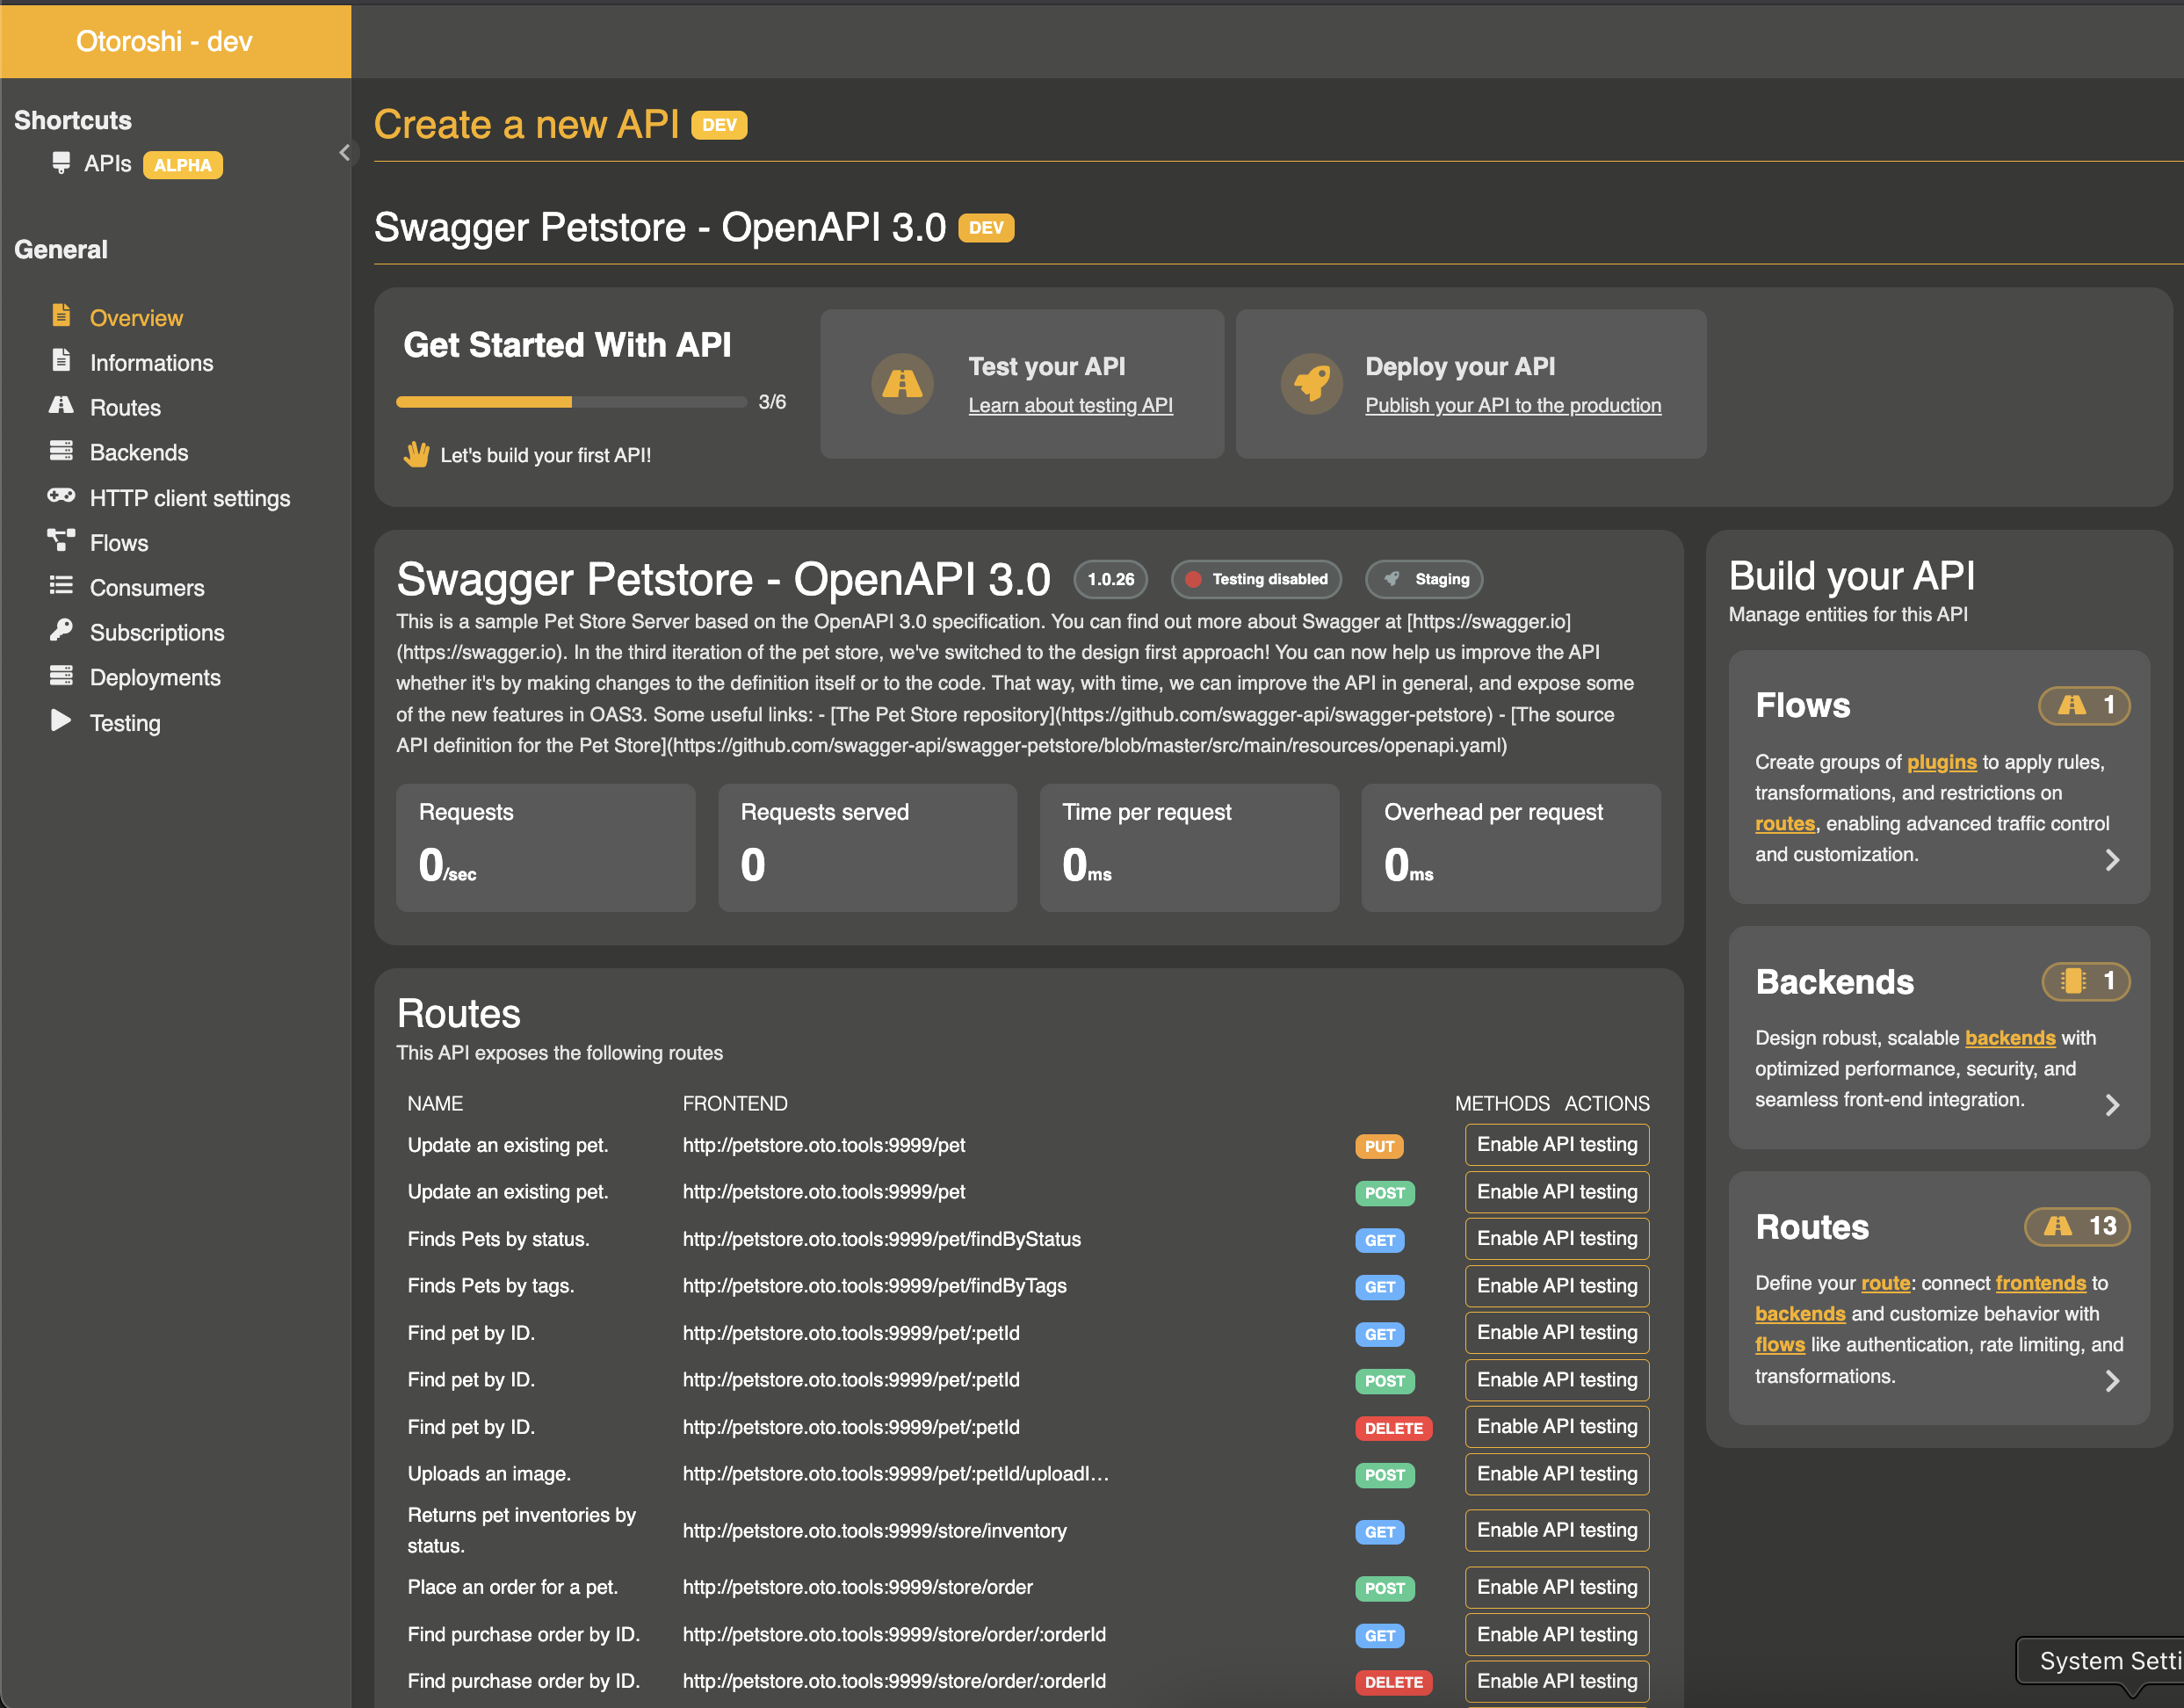
Understanding the import
When you import an OpenAPI specification, Otoroshi automatically converts each path into a frontend route, preserving the HTTP method, path, description, and name from the specification.
To avoid duplication, Otoroshi creates a single shared backend instance containing information about the target server (hostname, port, and connection details).
All routes start with an empty default plugin flow, meaning no transformations or filtering are applied to requests initially.
Enable testing mode
Before you can call your API, you need to enable testing mode. This allows you to test your API before deploying it to production.
- Click the Test your API task at the top of the dashboard
- Toggle the testing mode button to enable it
- Copy your testing header value (shown in the interface)
- Test your API with the following curl command:
sh
   curl -X GET 'http://petstore.oto.tools:8080/pet/findByStatus?status=available' \
     -H 'X-OTOROSHI-TESTING: your-testing-value-here'
> Important: Replace your-testing-value-here with your actual testing header value.
Secure your API with API keys
By default, your API runs in “keyless” mode with no security, transformations, or filtering applied. Let’s add API key authentication to secure it.
Create an API key consumer
- Navigate to the Consumers tab in the sidebar
- Click Create new consumer
- Configure the consumer with these settings and save it.
Name: API Key consumer
Consumer Kind: apikey
Status: published
Apply API key security to a route
Now let’s protect the findByStatus route with API key authentication:
- Go to the Flows tab
- Click Create new flow
- Name it “Secure flow by apikeys”
- Enable the API Key consumer and save
- Navigate to the Routes tab
- Use the search field to find the “findByStatus” route
- Click Add plugins to your route by selecting a flow
- Select your “Secure flow by apikeys” flow
Your route is now protected with API key authentication!