Oauth2 with keycloak
This tutorial show how to delegate user authentication to keycloak using oauth2.
On keycloak, you'll need to
- define scope for custom field
- set a dedicated client for Izanami
- add scope to client
- create users with custom attributes
- Configure Izanami
Running keycloak
Just use docker :
docker-compose -f docker-compose.oauth.yml up
Go to http://localhost:8980 and log with izanami / izanami.
Managing authorizations in Izanami
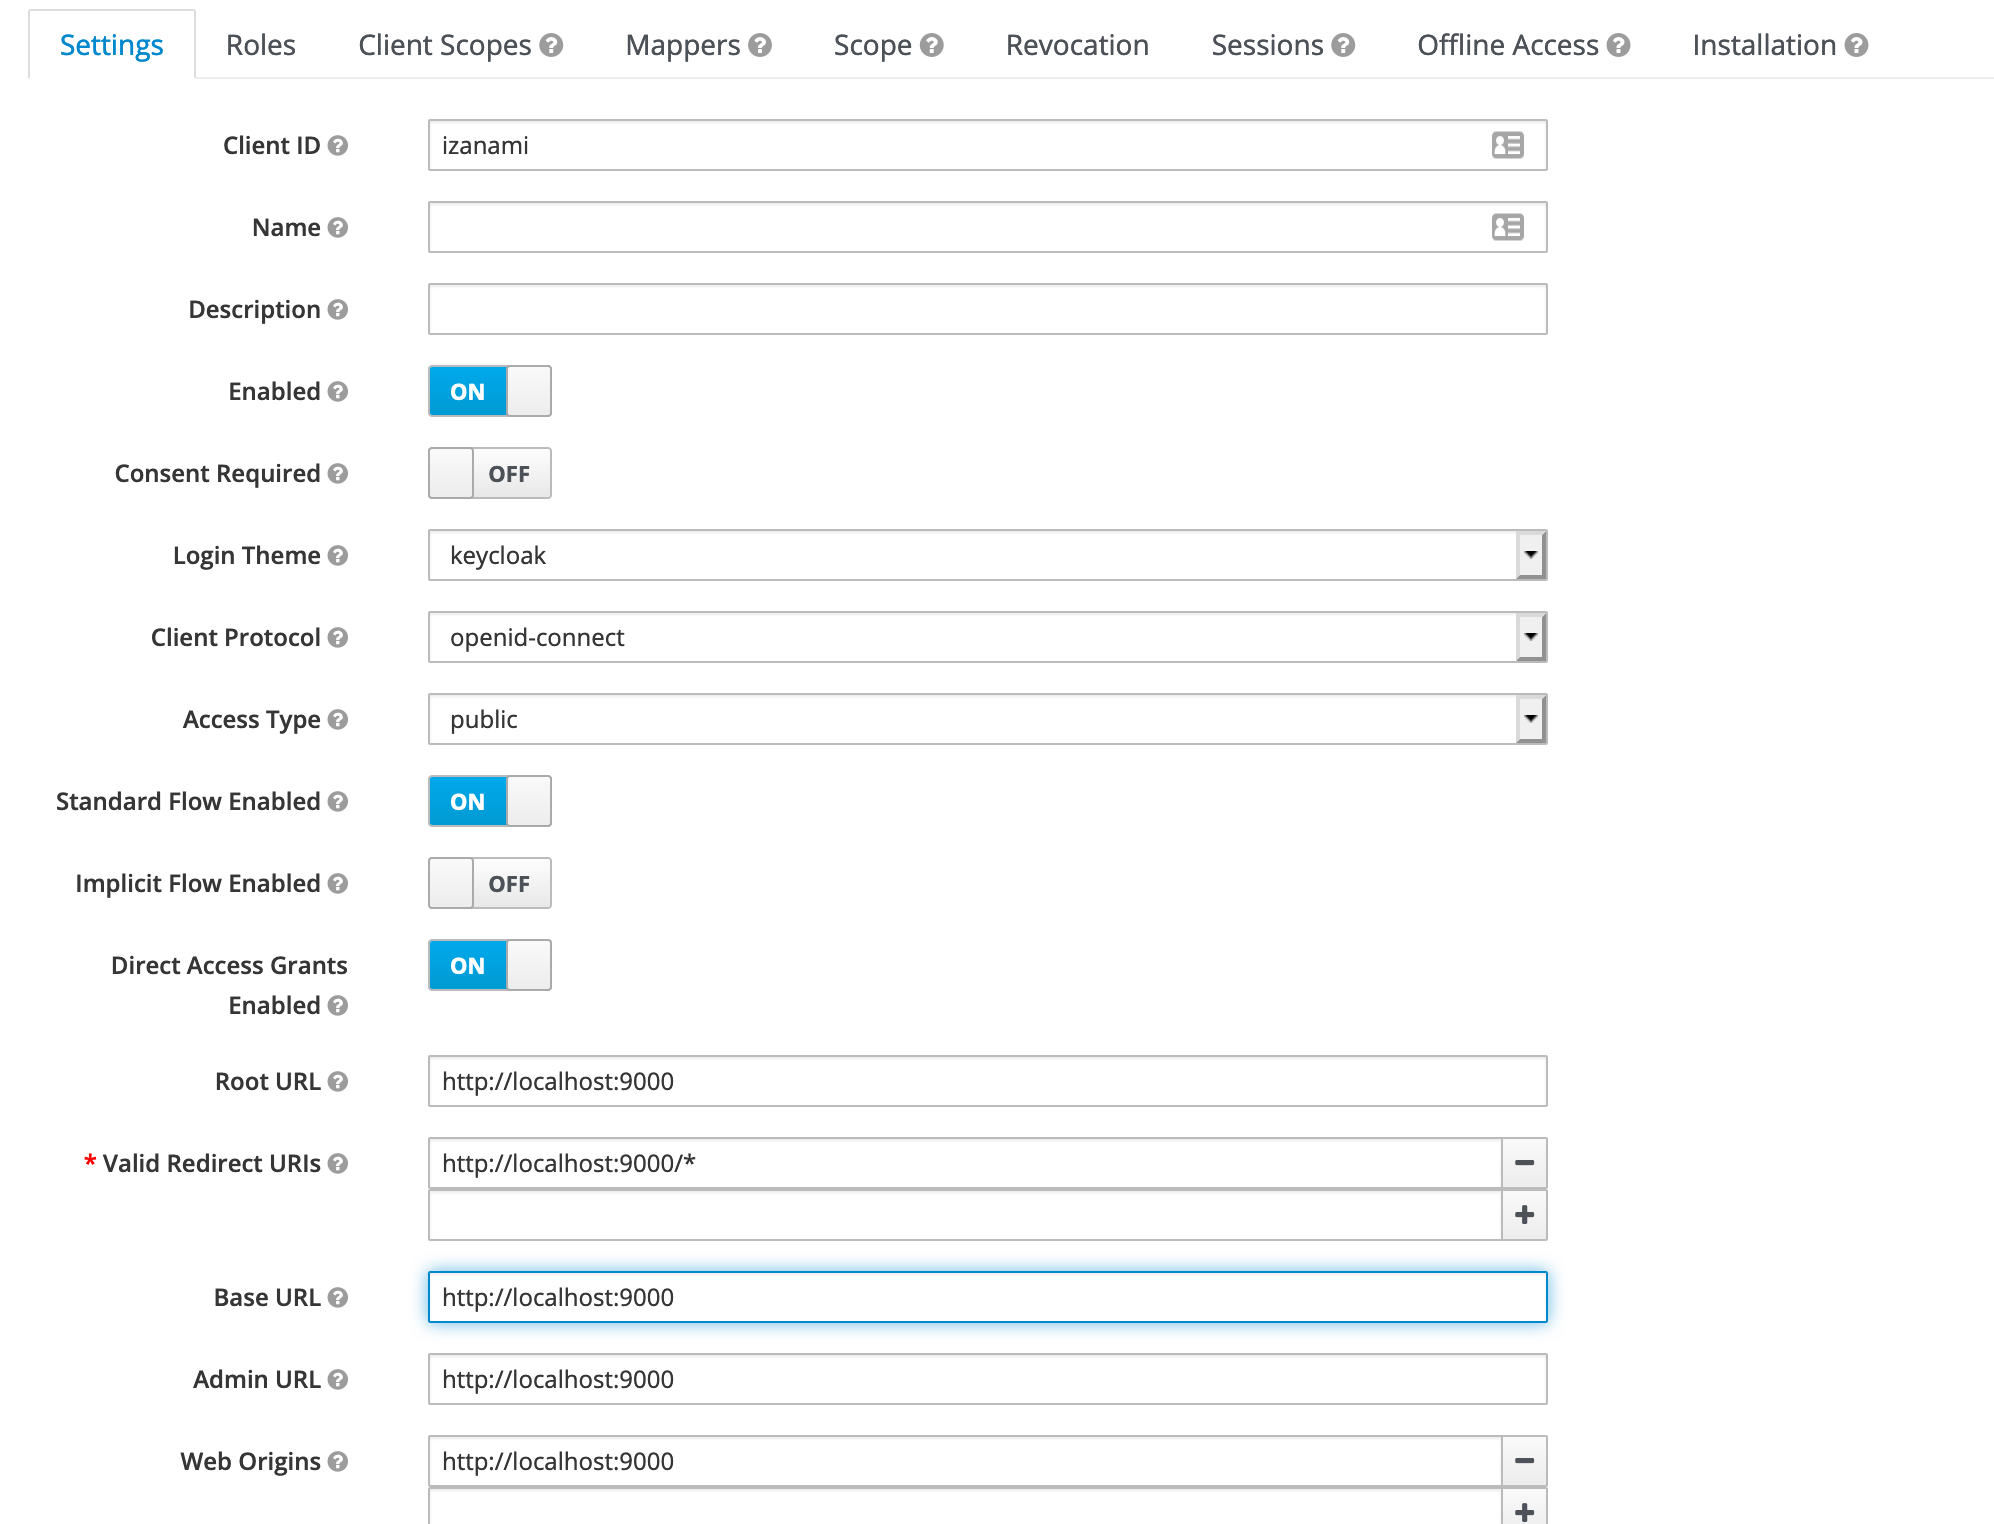
Create an Izanami client
Create a new open id connect client and name it izanami. Set the root url to the url of your server.

In the settings, fill the field with the various urls of izanami.
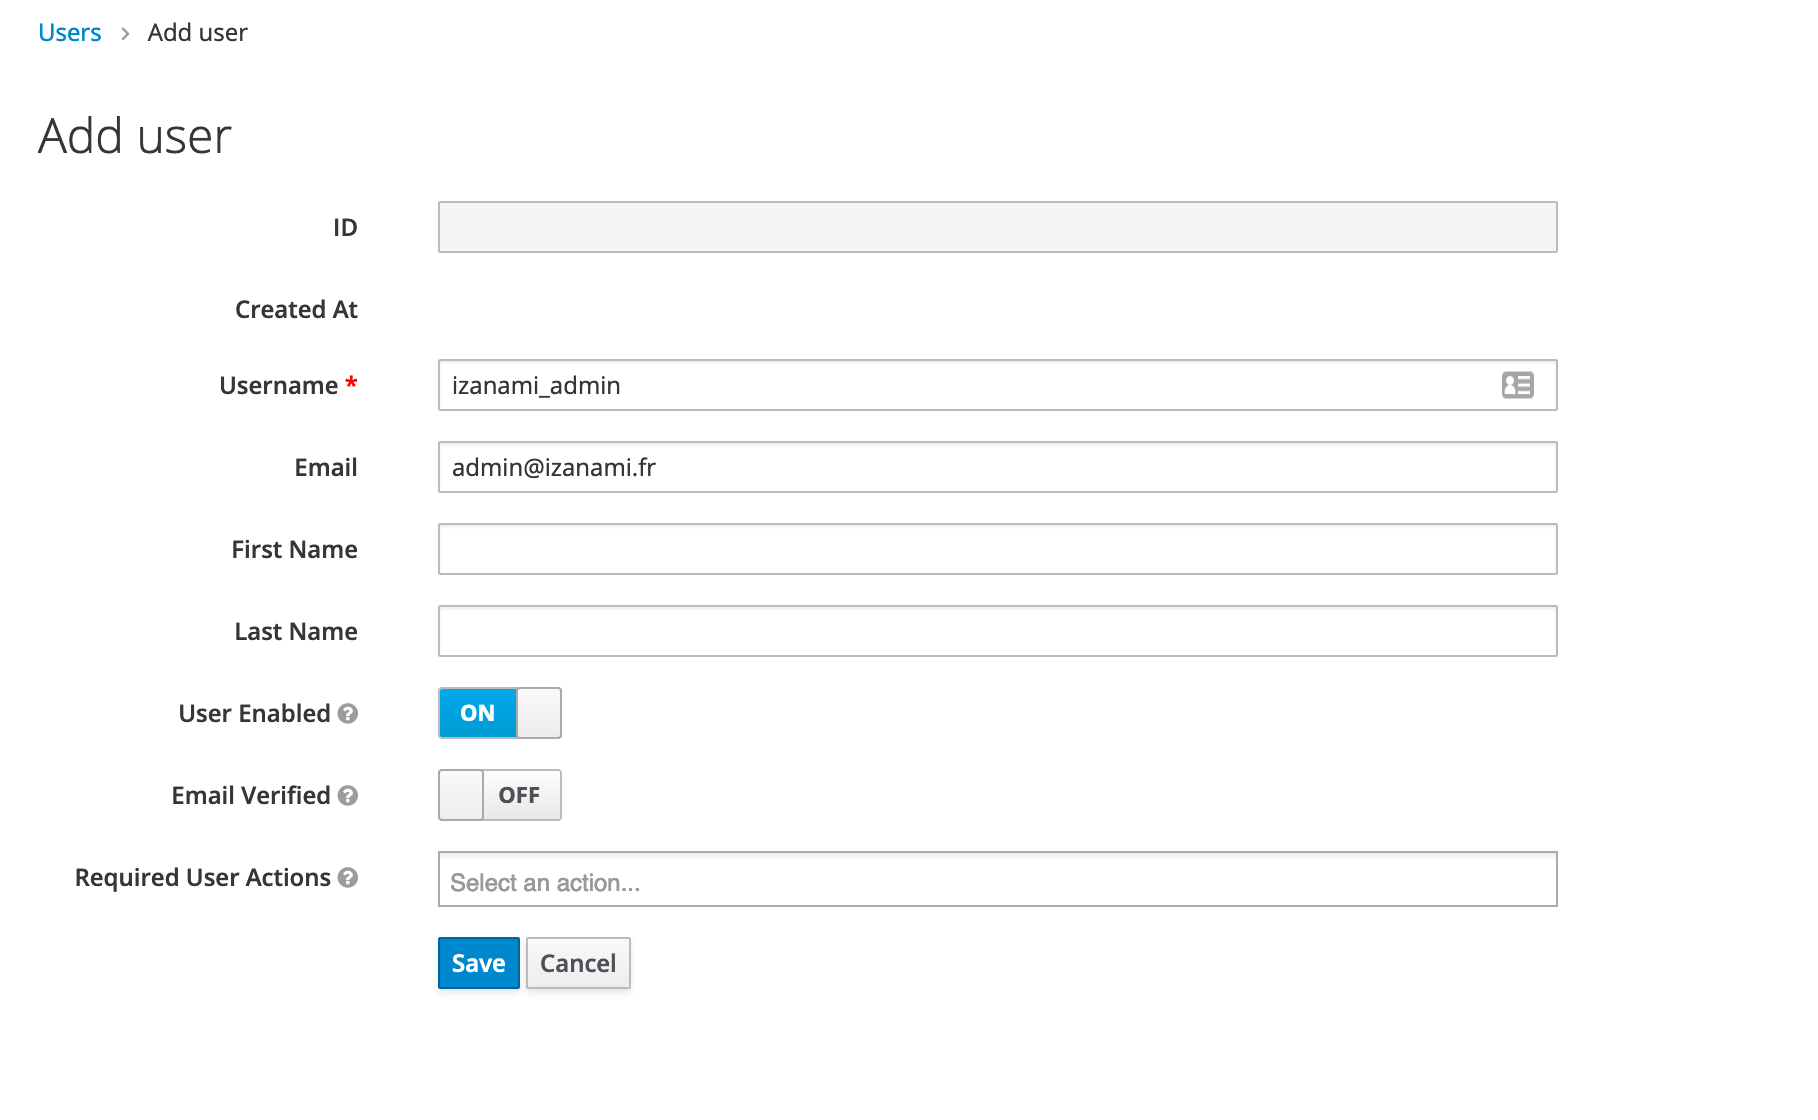
Next step create some users.
Create users
We will create two users :
- one admin user
- one user with restricted access
In the users menu, add a new user

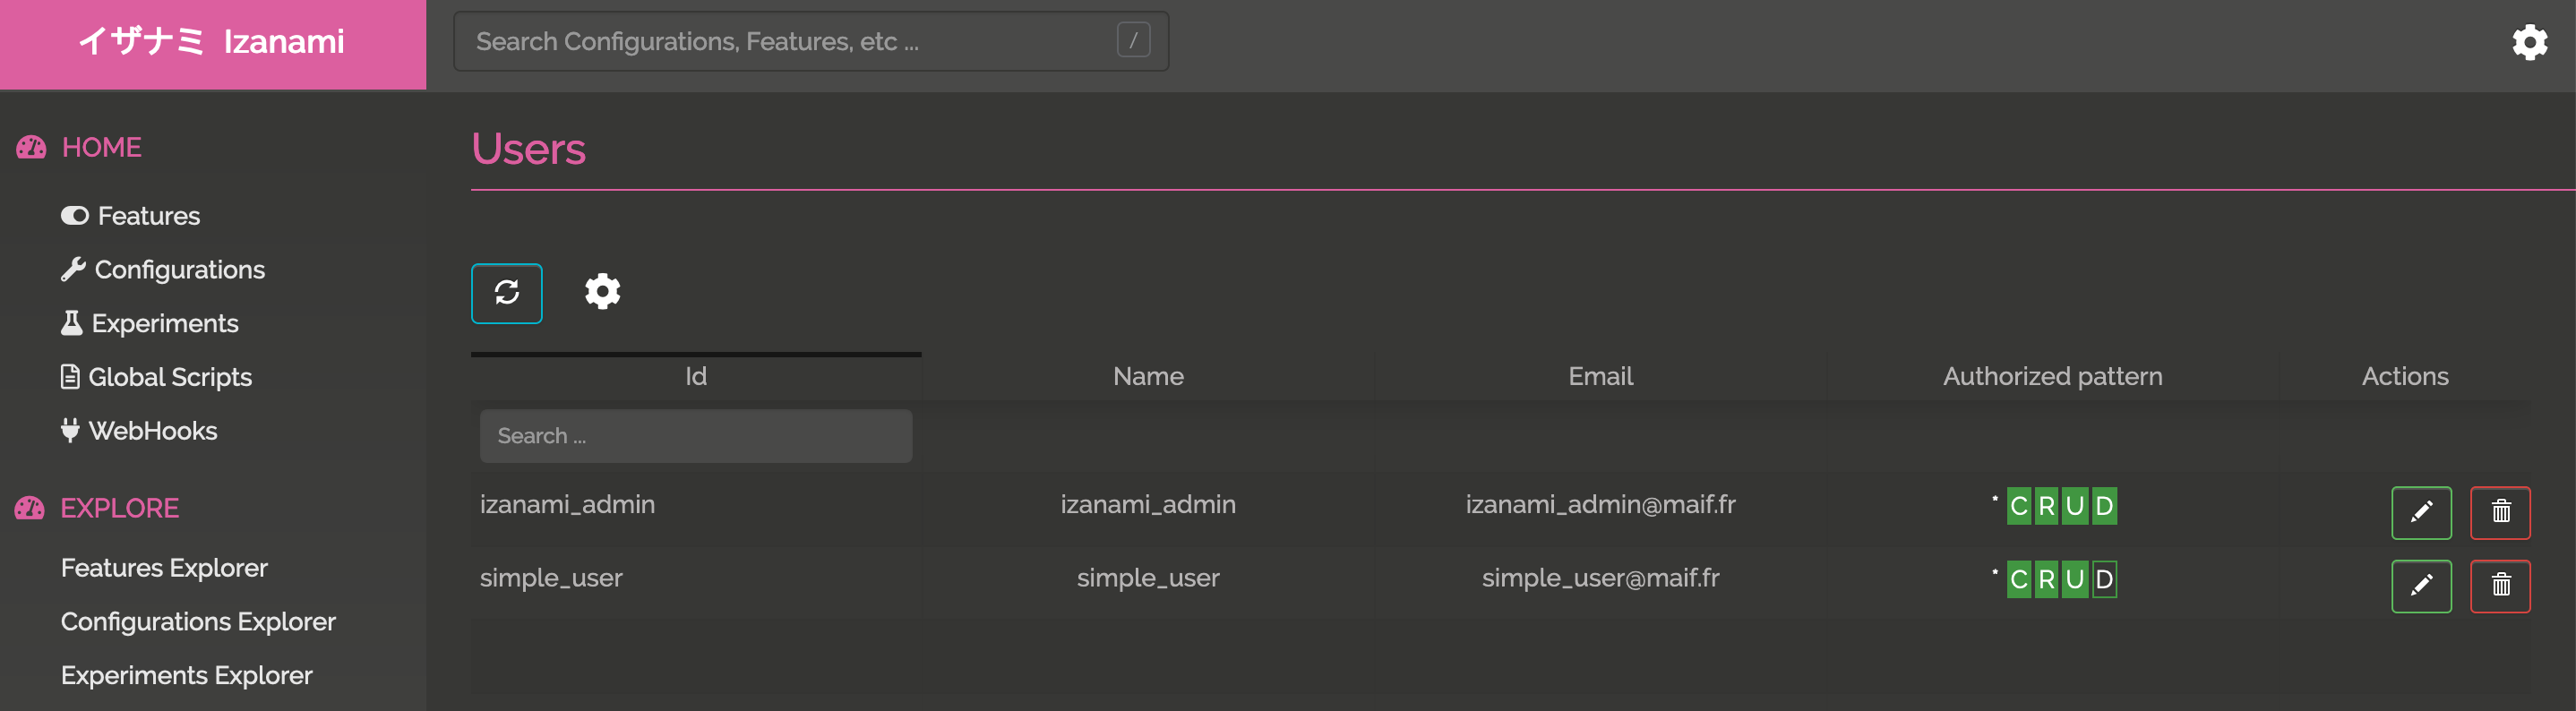
Manage users in Izanami
After the first login action, the user will be created in Izanami. You can now manage his rights.
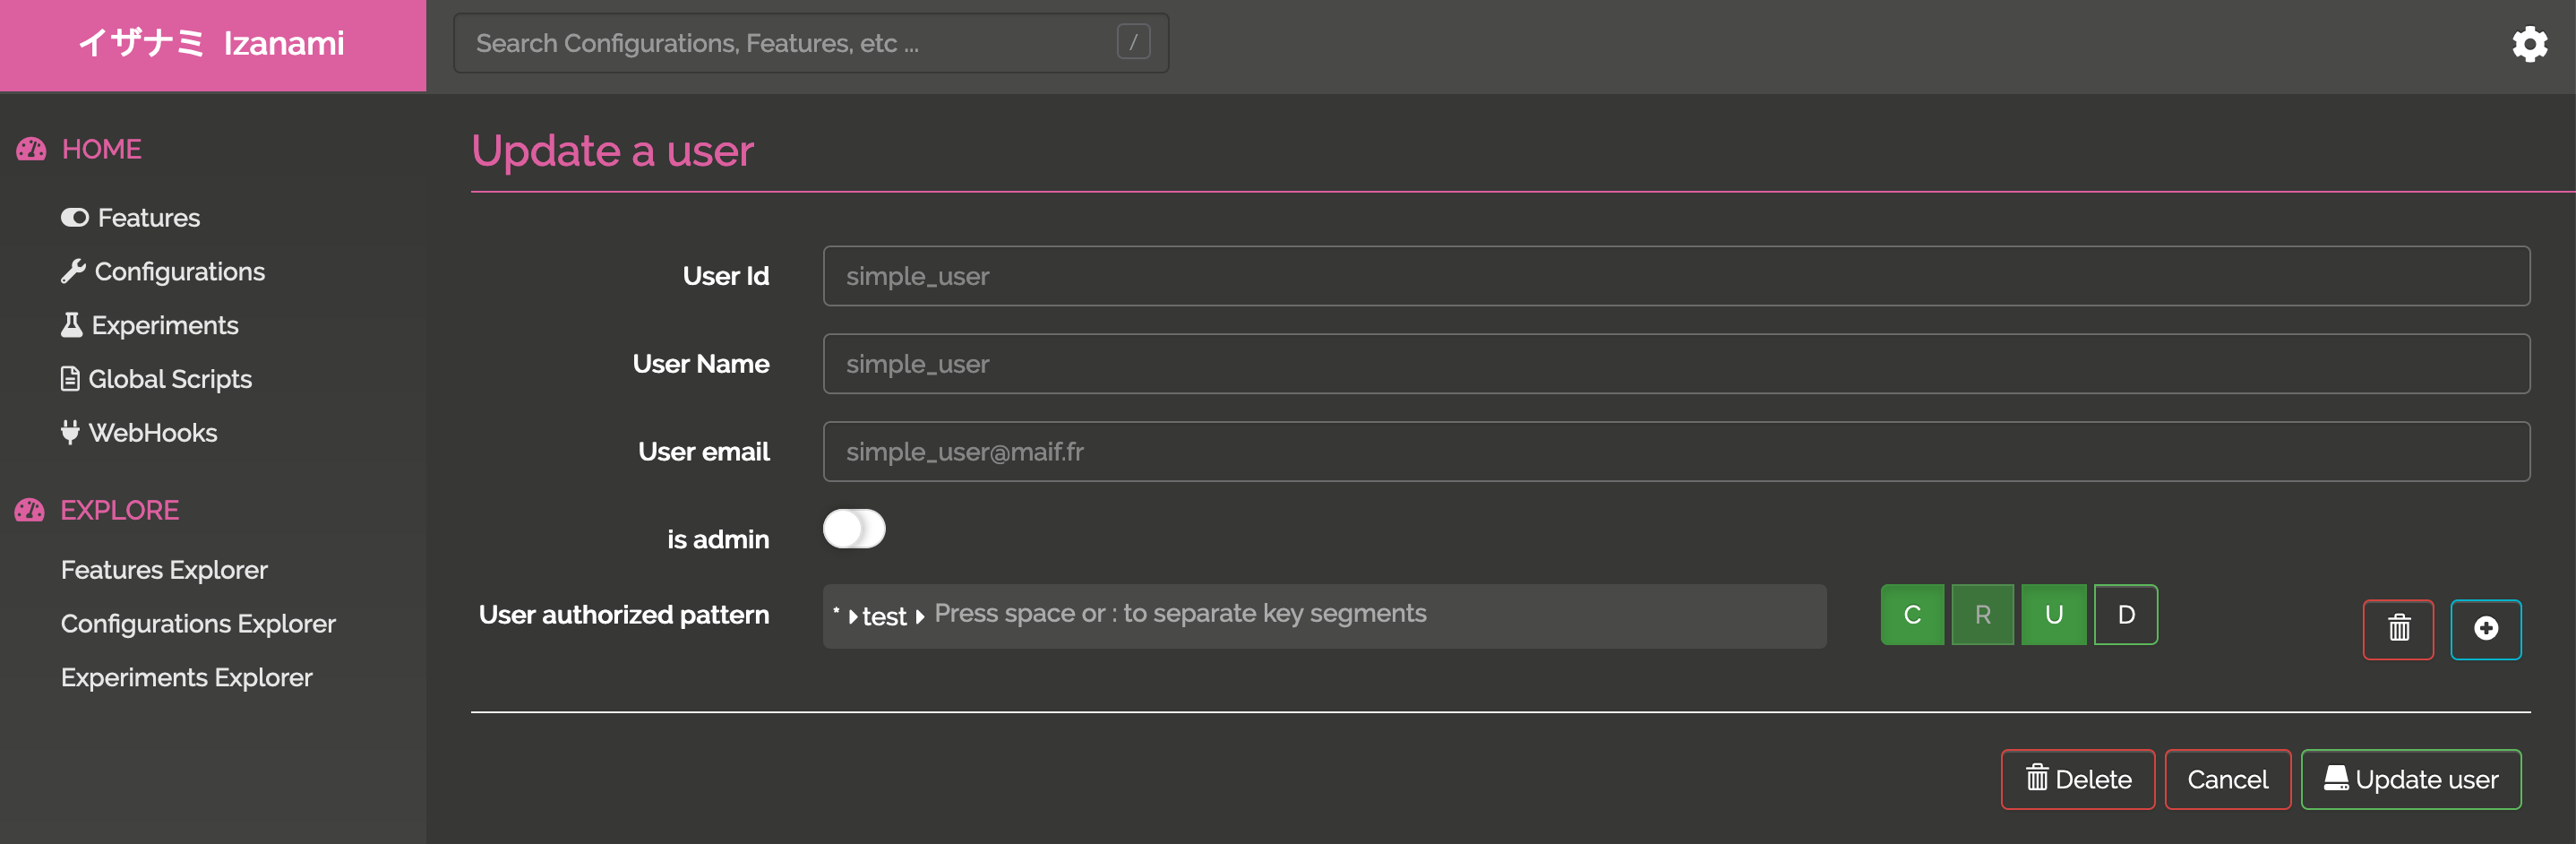
and then edit the user
Managing abilitations in keycloak
Define scope
You first need to define new scopes for
authorizedPatterns: the pattern applied on keys that the user is able to useadmin: a boolean to define id the user will be admin
Define a new scope for authorized patterns field
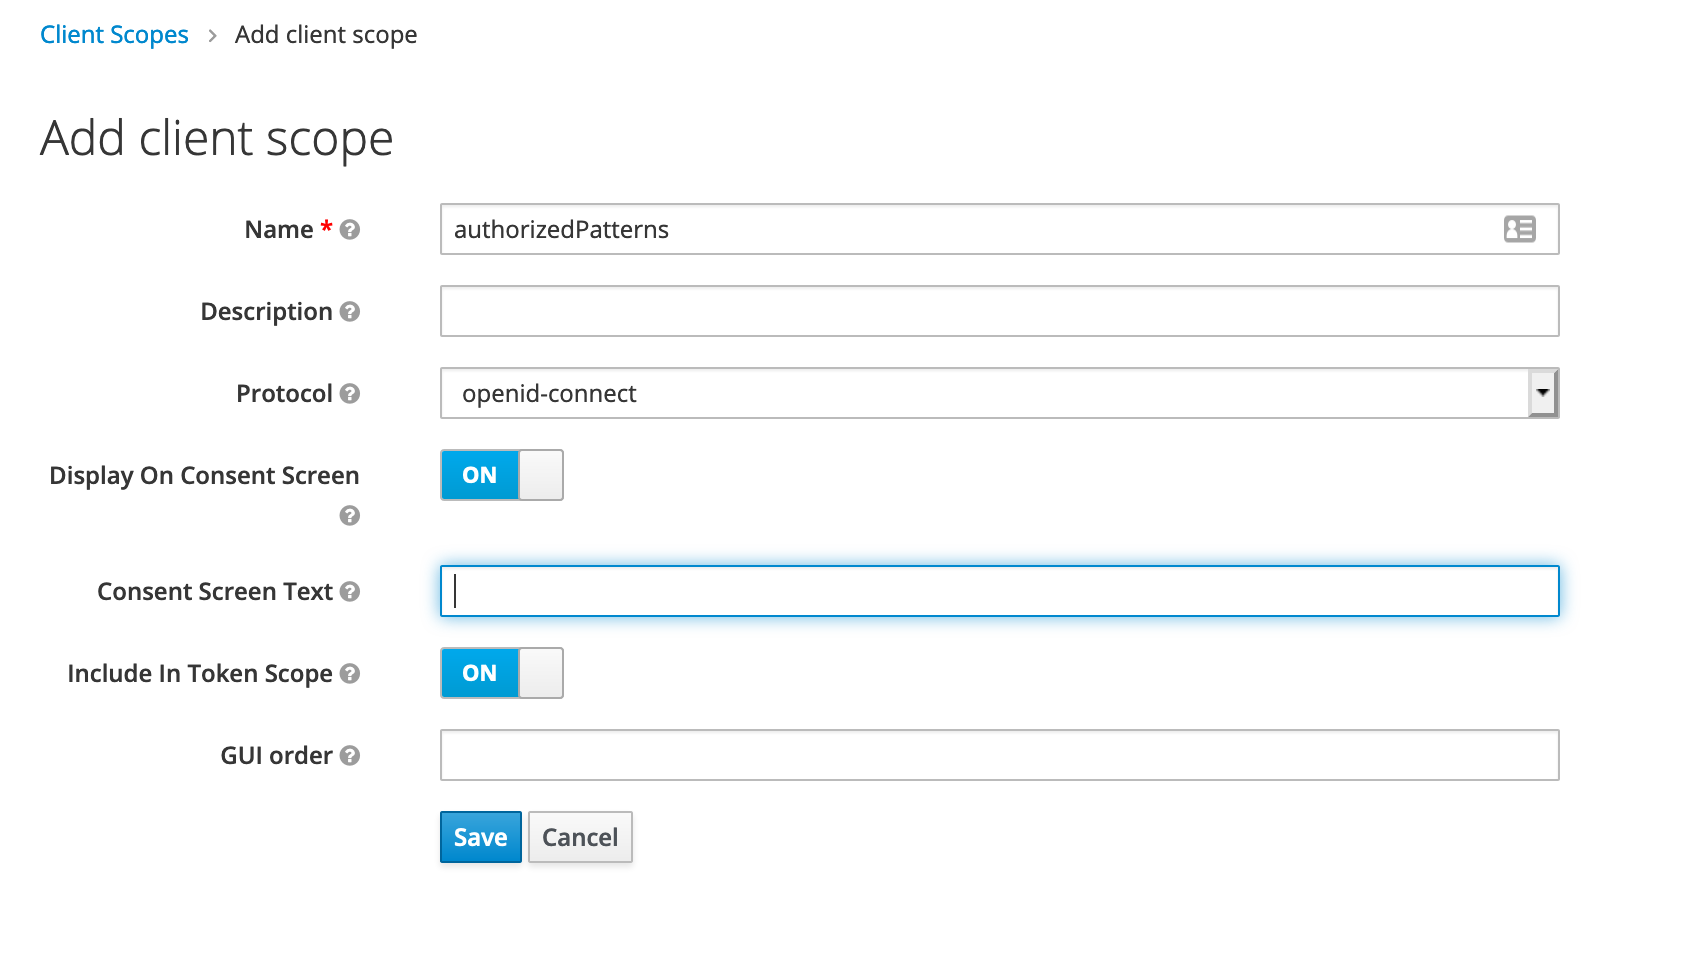
Define a mapper for authorized patterns field
Define a mapper for the authorizedPatterns field with a mapper type UserAttribute and the name of the attribute and the name in the claim.
Here the name will be authorizedPatterns and the type in json will be a string.

Define a new scope for the admin field
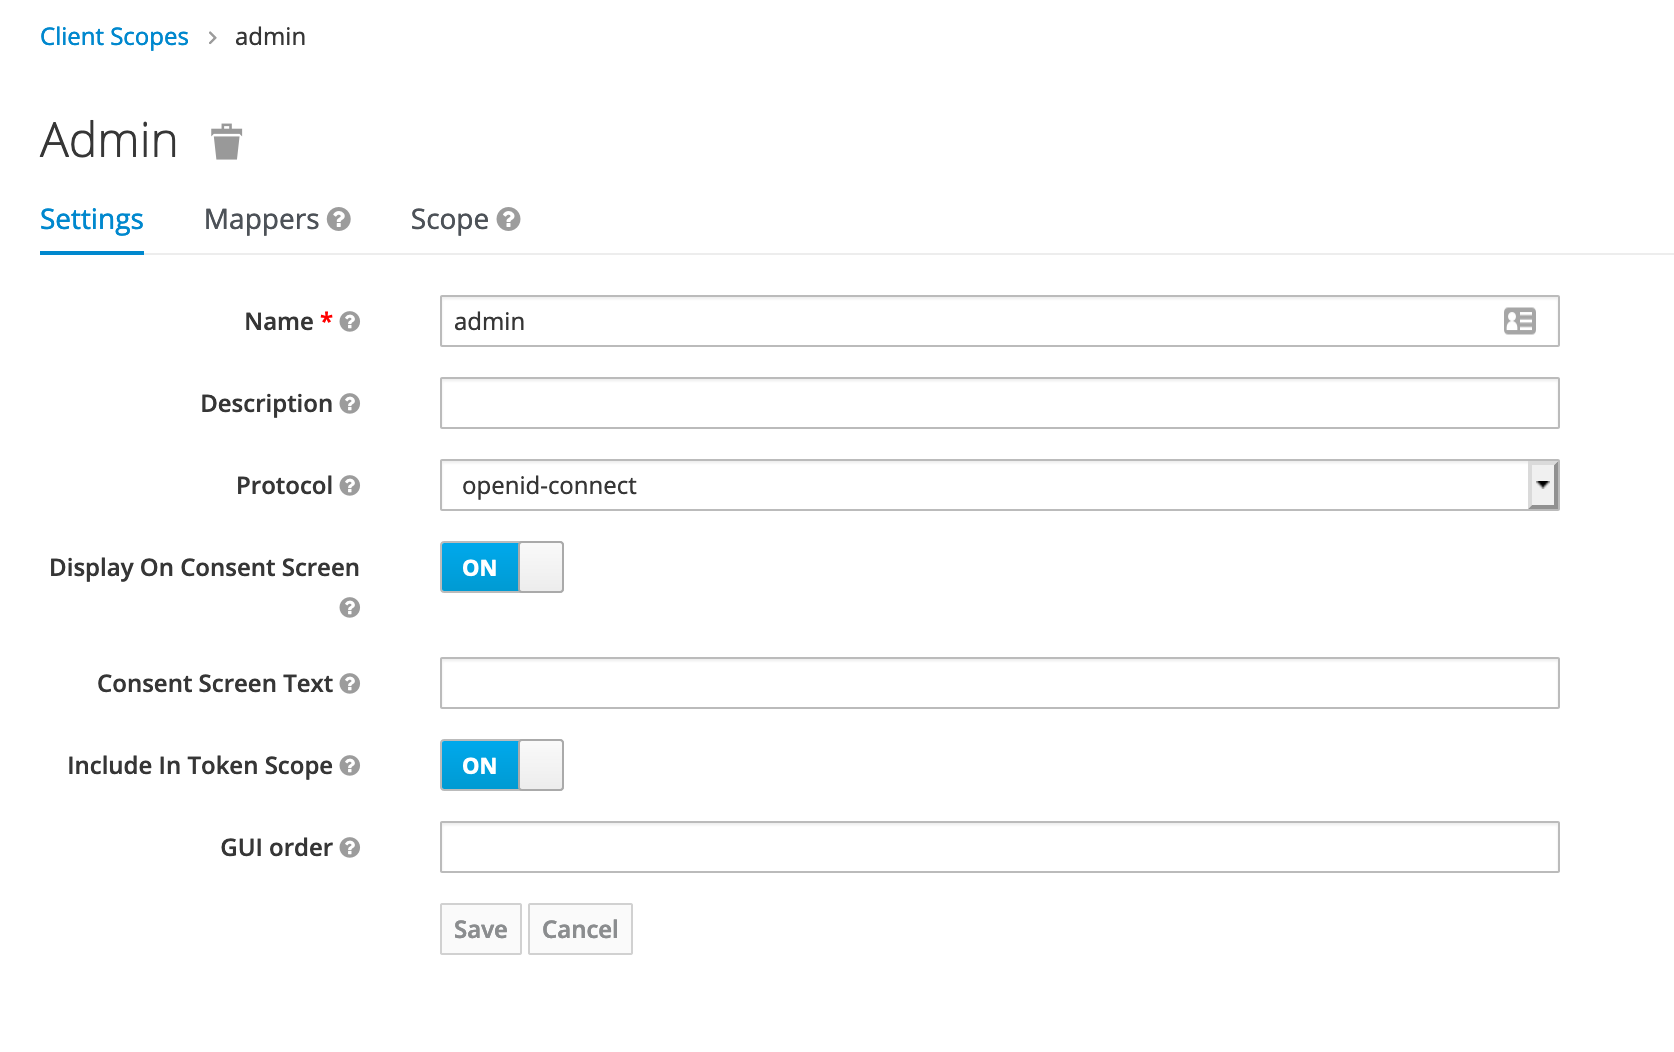
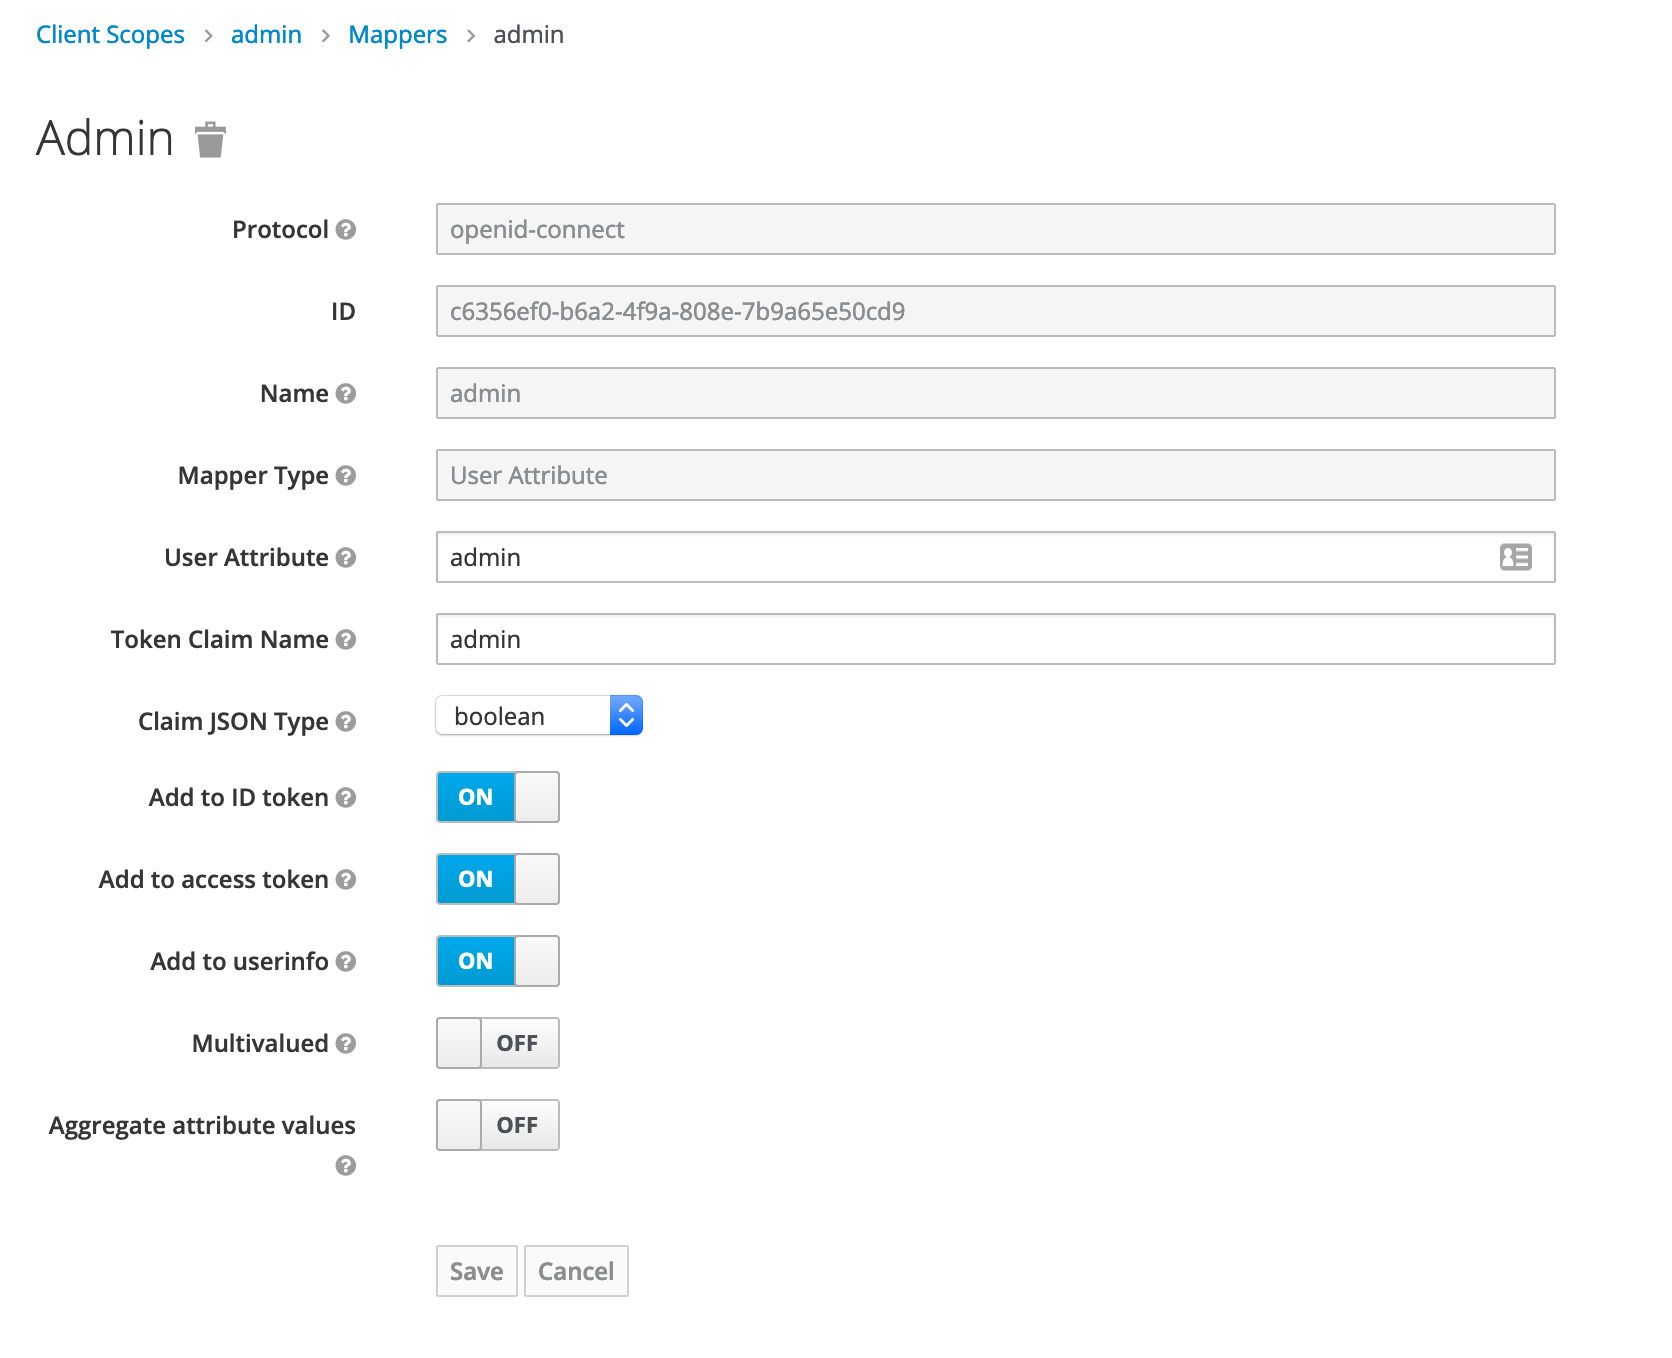
Define a mapper for the admin field
Define a mapper for the admin field with a mapper type UserAttribute and the name of the attribute and the name in the claim.
Here the name will be admin and the type in json will be a boolean.
Create an Izanami client
Create a new open id connect client and name it izanami. Set the root url to the url of your server.
In the settings, fill the field with the various urls of izanami.
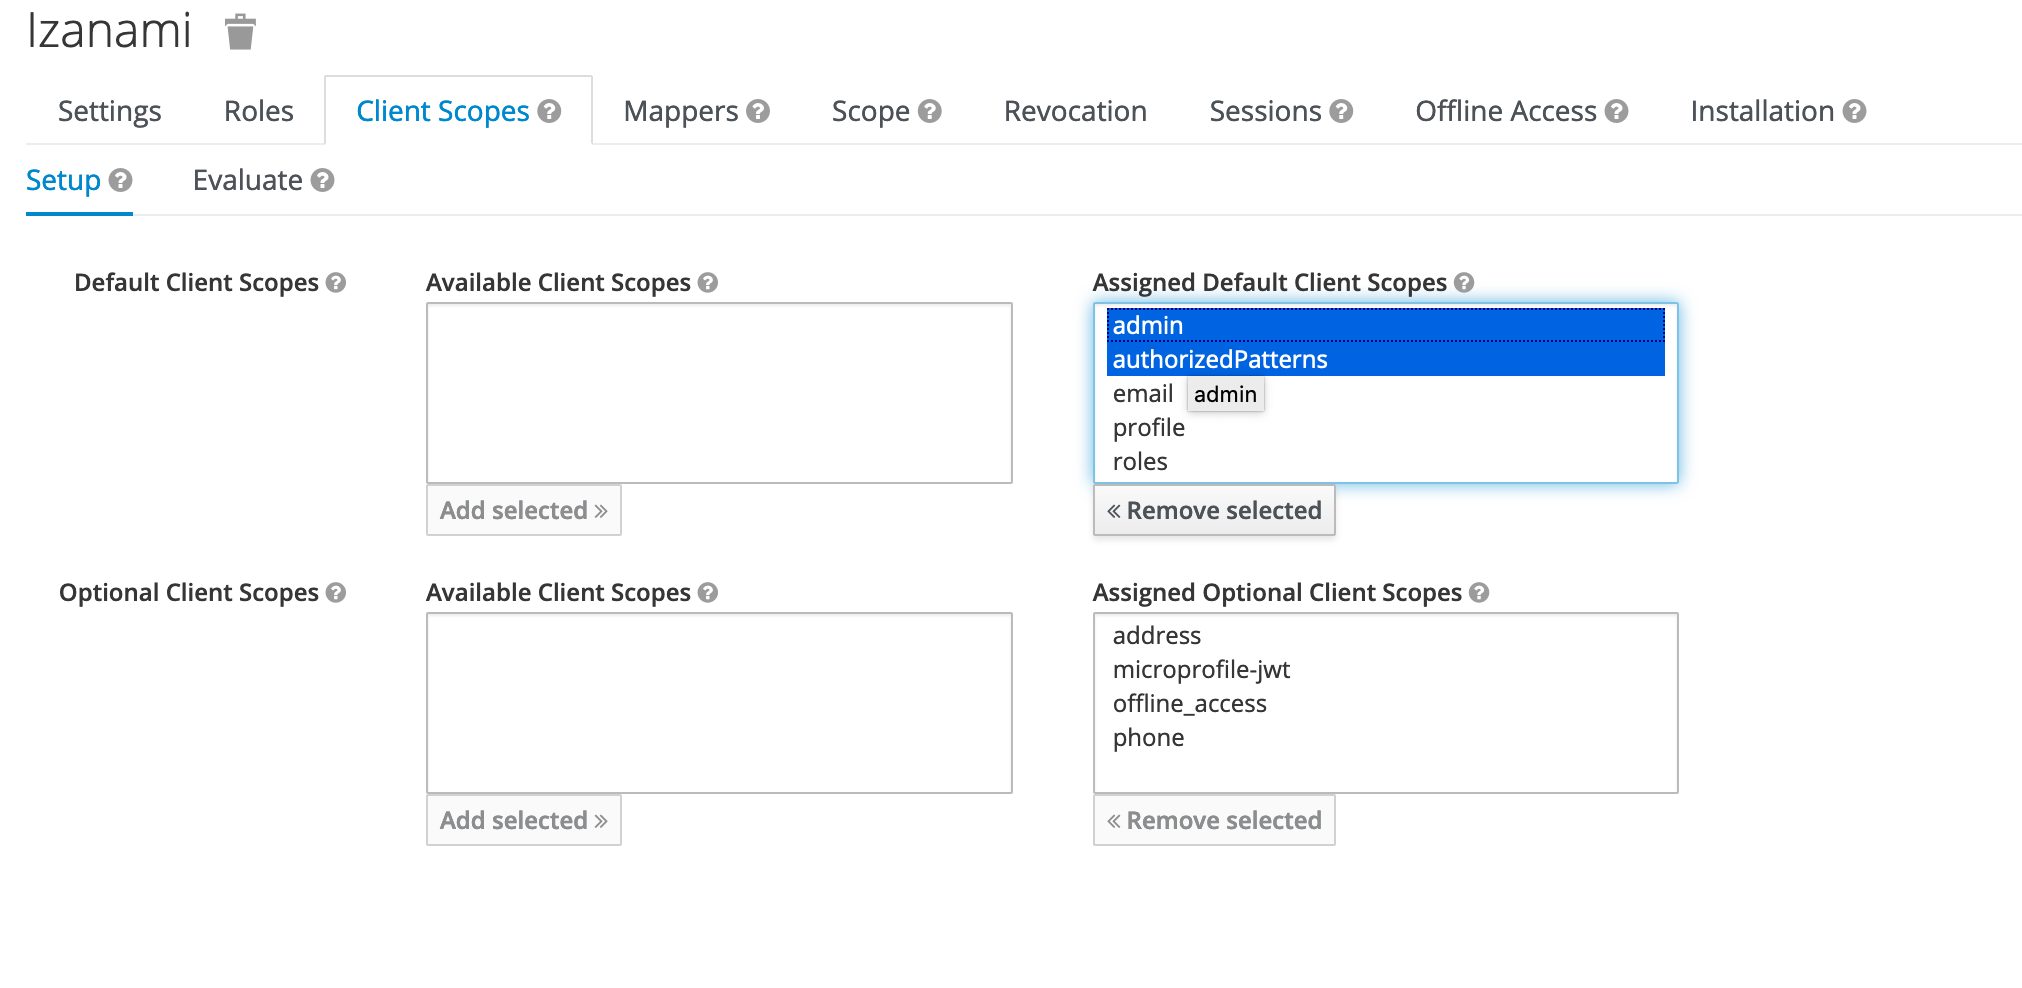
In the client scope panel, add the two scopes created previously.
Next step create some users.
Create users
We will create two users :
- one admin user
- one user with restricted access
In the users menu, add a new user
Admin user
Create an admin user
In the attributes panel, add two attributes
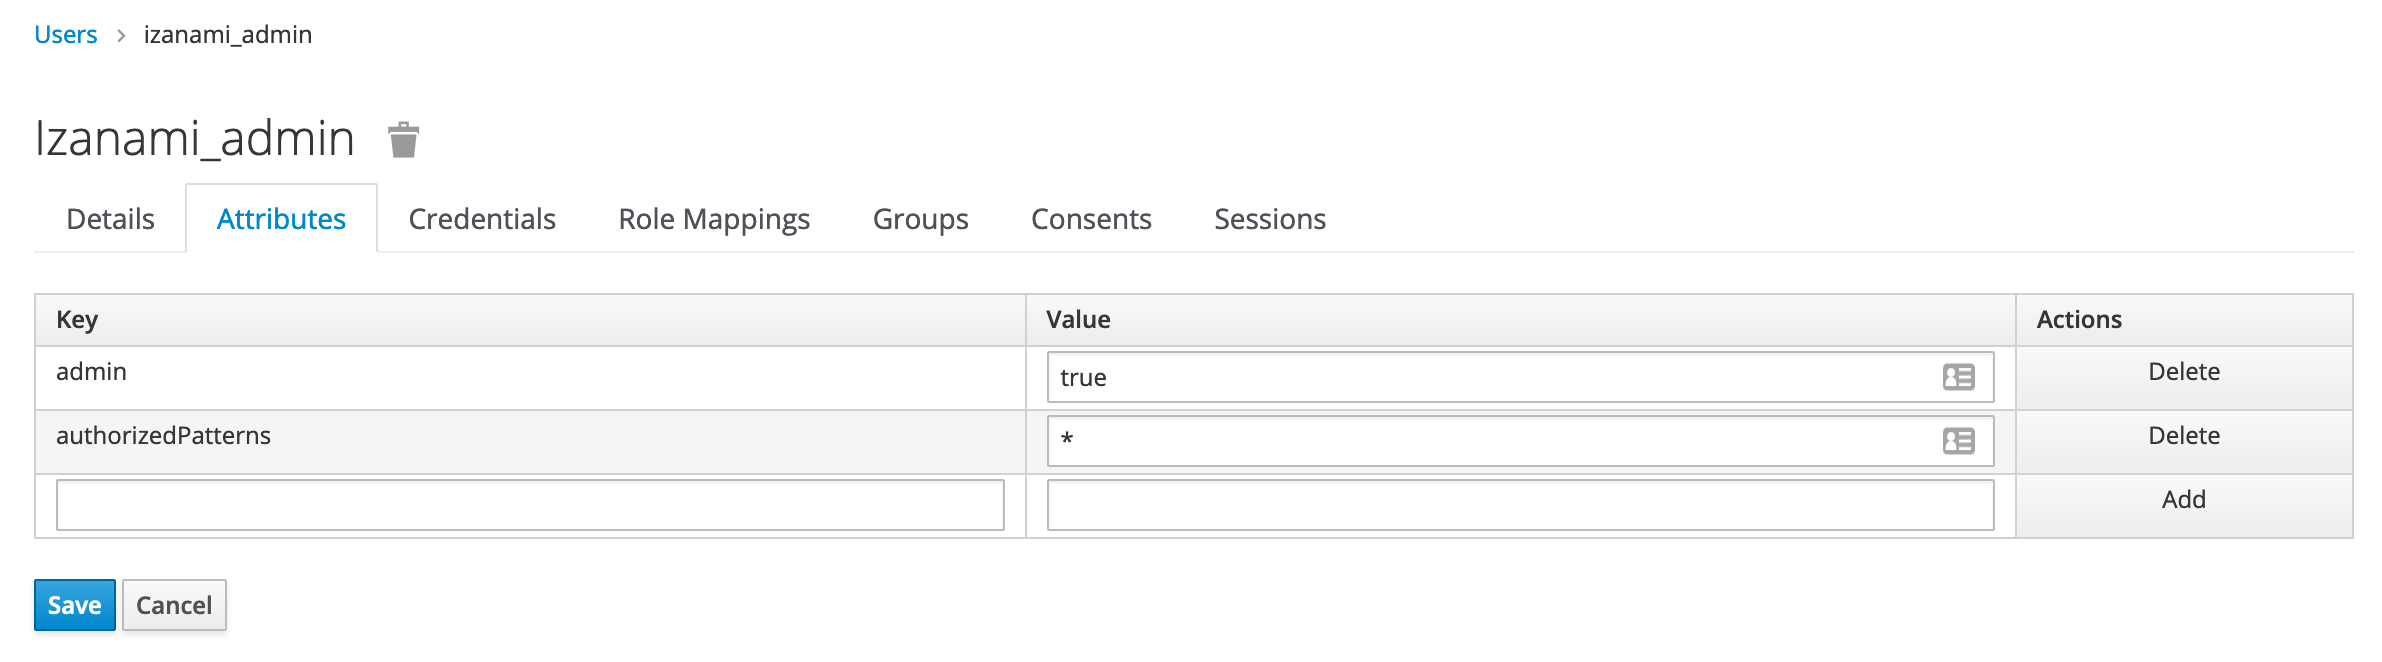
Random user
Create an simple user
In the attributes panel, add the restriction pattern
Configure izanami
Assuming that keycloak was started on 8980 port you can set the following configuration :
  oauth2 {
    enabled = true
    authorizeUrl = "http://localhost:8980/auth/realms/master/protocol/openid-connect/auth"
    tokenUrl = 	"http://localhost:8980/auth/realms/master/protocol/openid-connect/token"
    userInfoUrl = "http://localhost:8980/auth/realms/master/protocol/openid-connect/userinfo"
    introspectionUrl = 	"http://localhost:8980/auth/realms/master/protocol/openid-connect/token/introspect"
    loginUrl = "http://localhost:8980/auth/realms/master/protocol/openid-connect/auth"
    logoutUrl = "http://localhost:8980/auth/realms/master/protocol/openid-connect/logout"
    clientId = "izanami"
    clientSecret = "secret"
    scope = "openid profile email name admin authorizedPatterns"
    readProfileFromToken = true
    useCookie = false
    useJson = false
    idField = "sub"
    accessTokenField = "access_token"
    nameField = "preferred_username"
    emailField = "email"
    adminField = "admin"
    authorizedPatternField = "authorizedPatterns"
    defaultPatterns = ""
    izanamiManagedUser = true
  }
Or with environment variables :
OAUTH2_ENABLED="true"
OAUTH2_AUTHORIZE_URL="http://localhost:8980/auth/realms/master/protocol/openid-connect/auth"
OAUTH2_TOKEN_URL="http://localhost:8980/auth/realms/master/protocol/openid-connect/token"
OAUTH2_USER_INFO_URL="http://localhost:8980/auth/realms/master/protocol/openid-connect/userinfo"
OAUTH2_INTROSPECTION_URL="http://localhost:8980/auth/realms/master/protocol/openid-connect/token/introspect"
OAUTH2_LOGIN_URL="http://localhost:8980/auth/realms/master/protocol/openid-connect/auth"
OAUTH2_LOGOUT_URL="http://localhost:8980/auth/realms/master/protocol/openid-connect/logout"
OAUTH2_CLIENT_ID="izanami"
OAUTH2_CLIENT_SECRET="secret"
OAUTH2_SCOPE="openid profile email name admin authorizedPatterns"
OAUTH2_READ_FROM_TOKEN="true"
OAUTH2_USE_COOKIE="false"
OAUTH2_USE_JSON="false"
OAUTH2_ID_FIELD="sub"
OAUTH2_ACCESS_TOKEN_FIELD="access_token"
OAUTH2_NAME_FIELD="preferred_username"
OAUTH2_EMAIL_FIELD="email"
OAUTH2_ADMIN_FIELD="admin"
OAUTH2_AUTHORIZED_PATTERN_FIELD="authorizedPatterns"
OAUTH2_DEFAULT_PATTERN=""
OAUTH2_IZANAMI_MANAGED_USERS=true
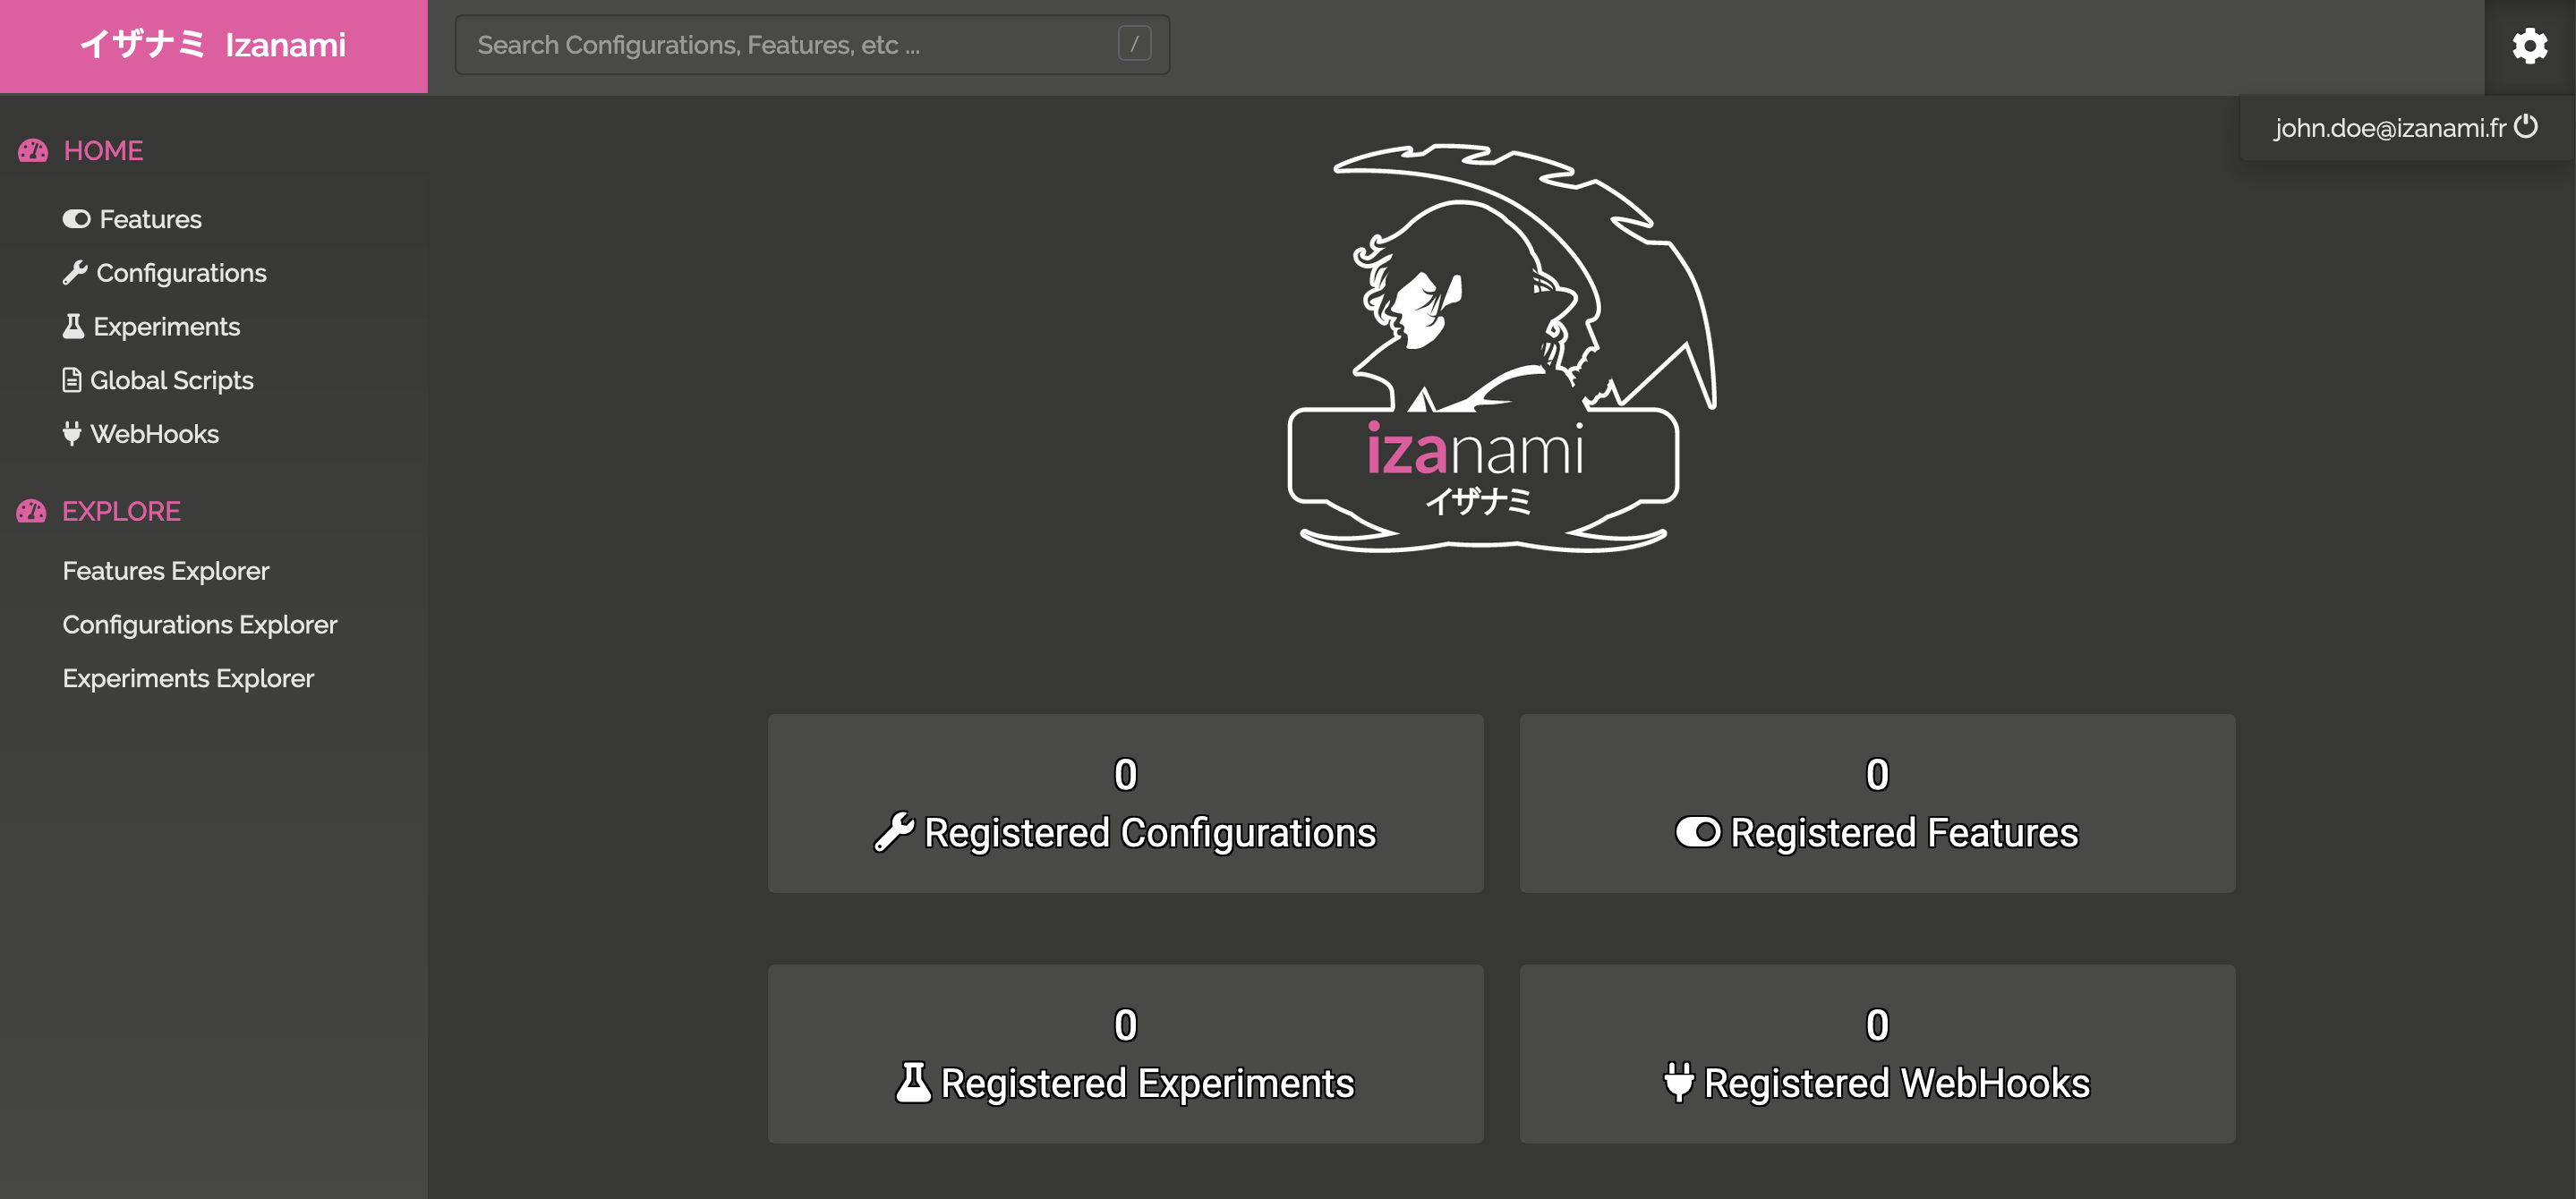
Now if you hit the http://localhost:9000 izanami homepage, you're redirected to the keycloak login page :
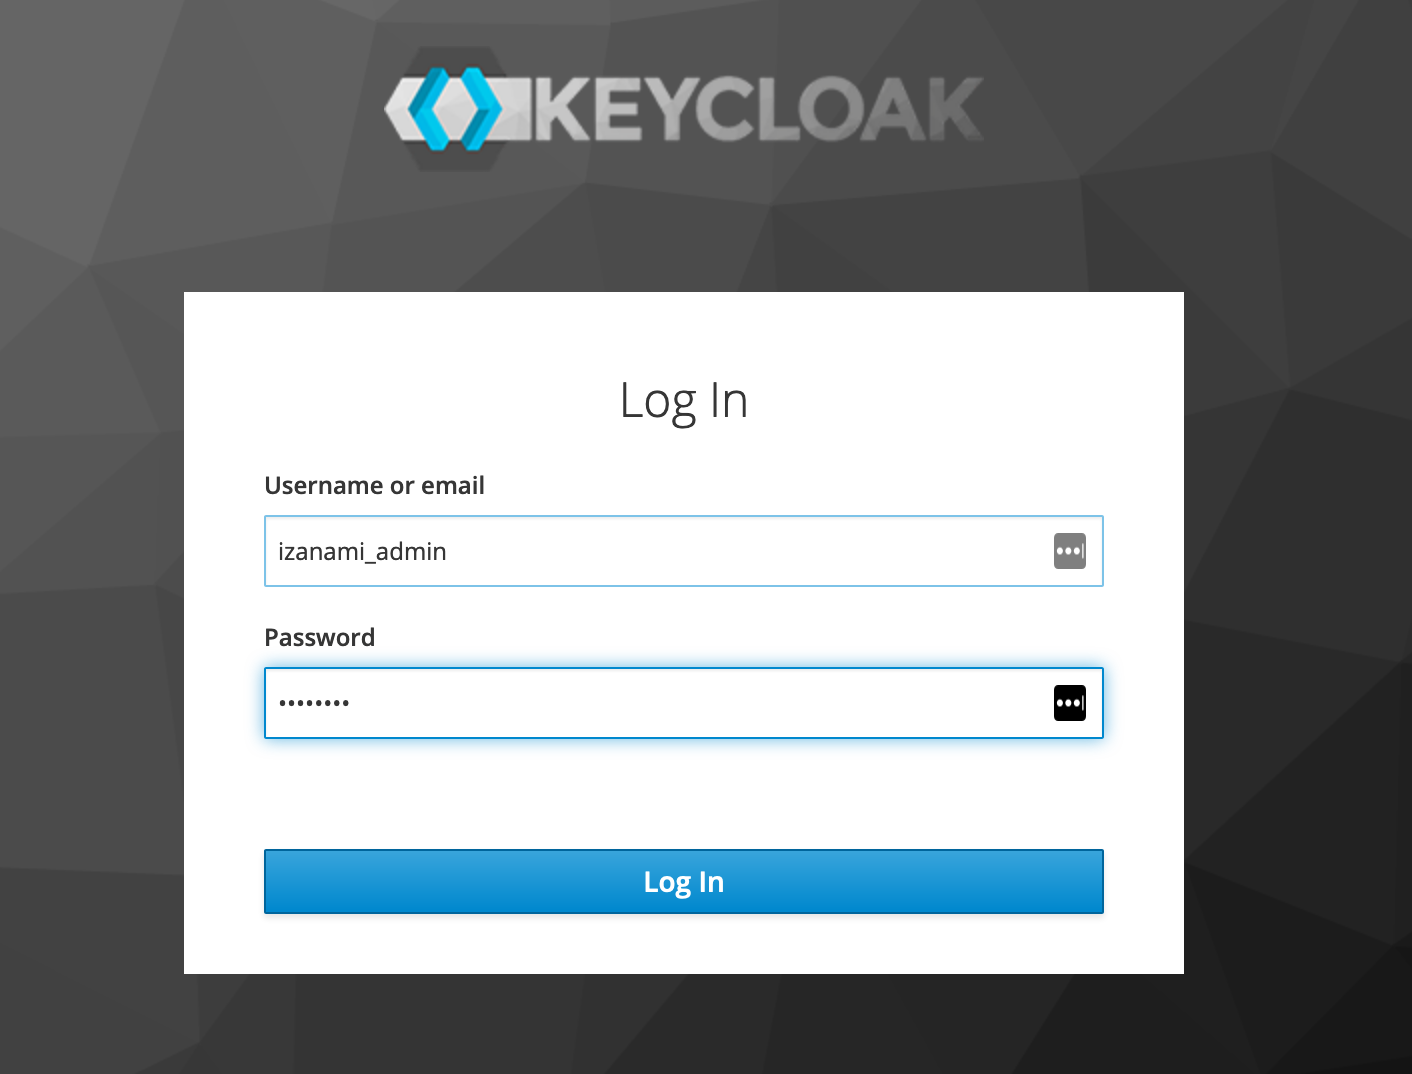
Just set the admin credentials
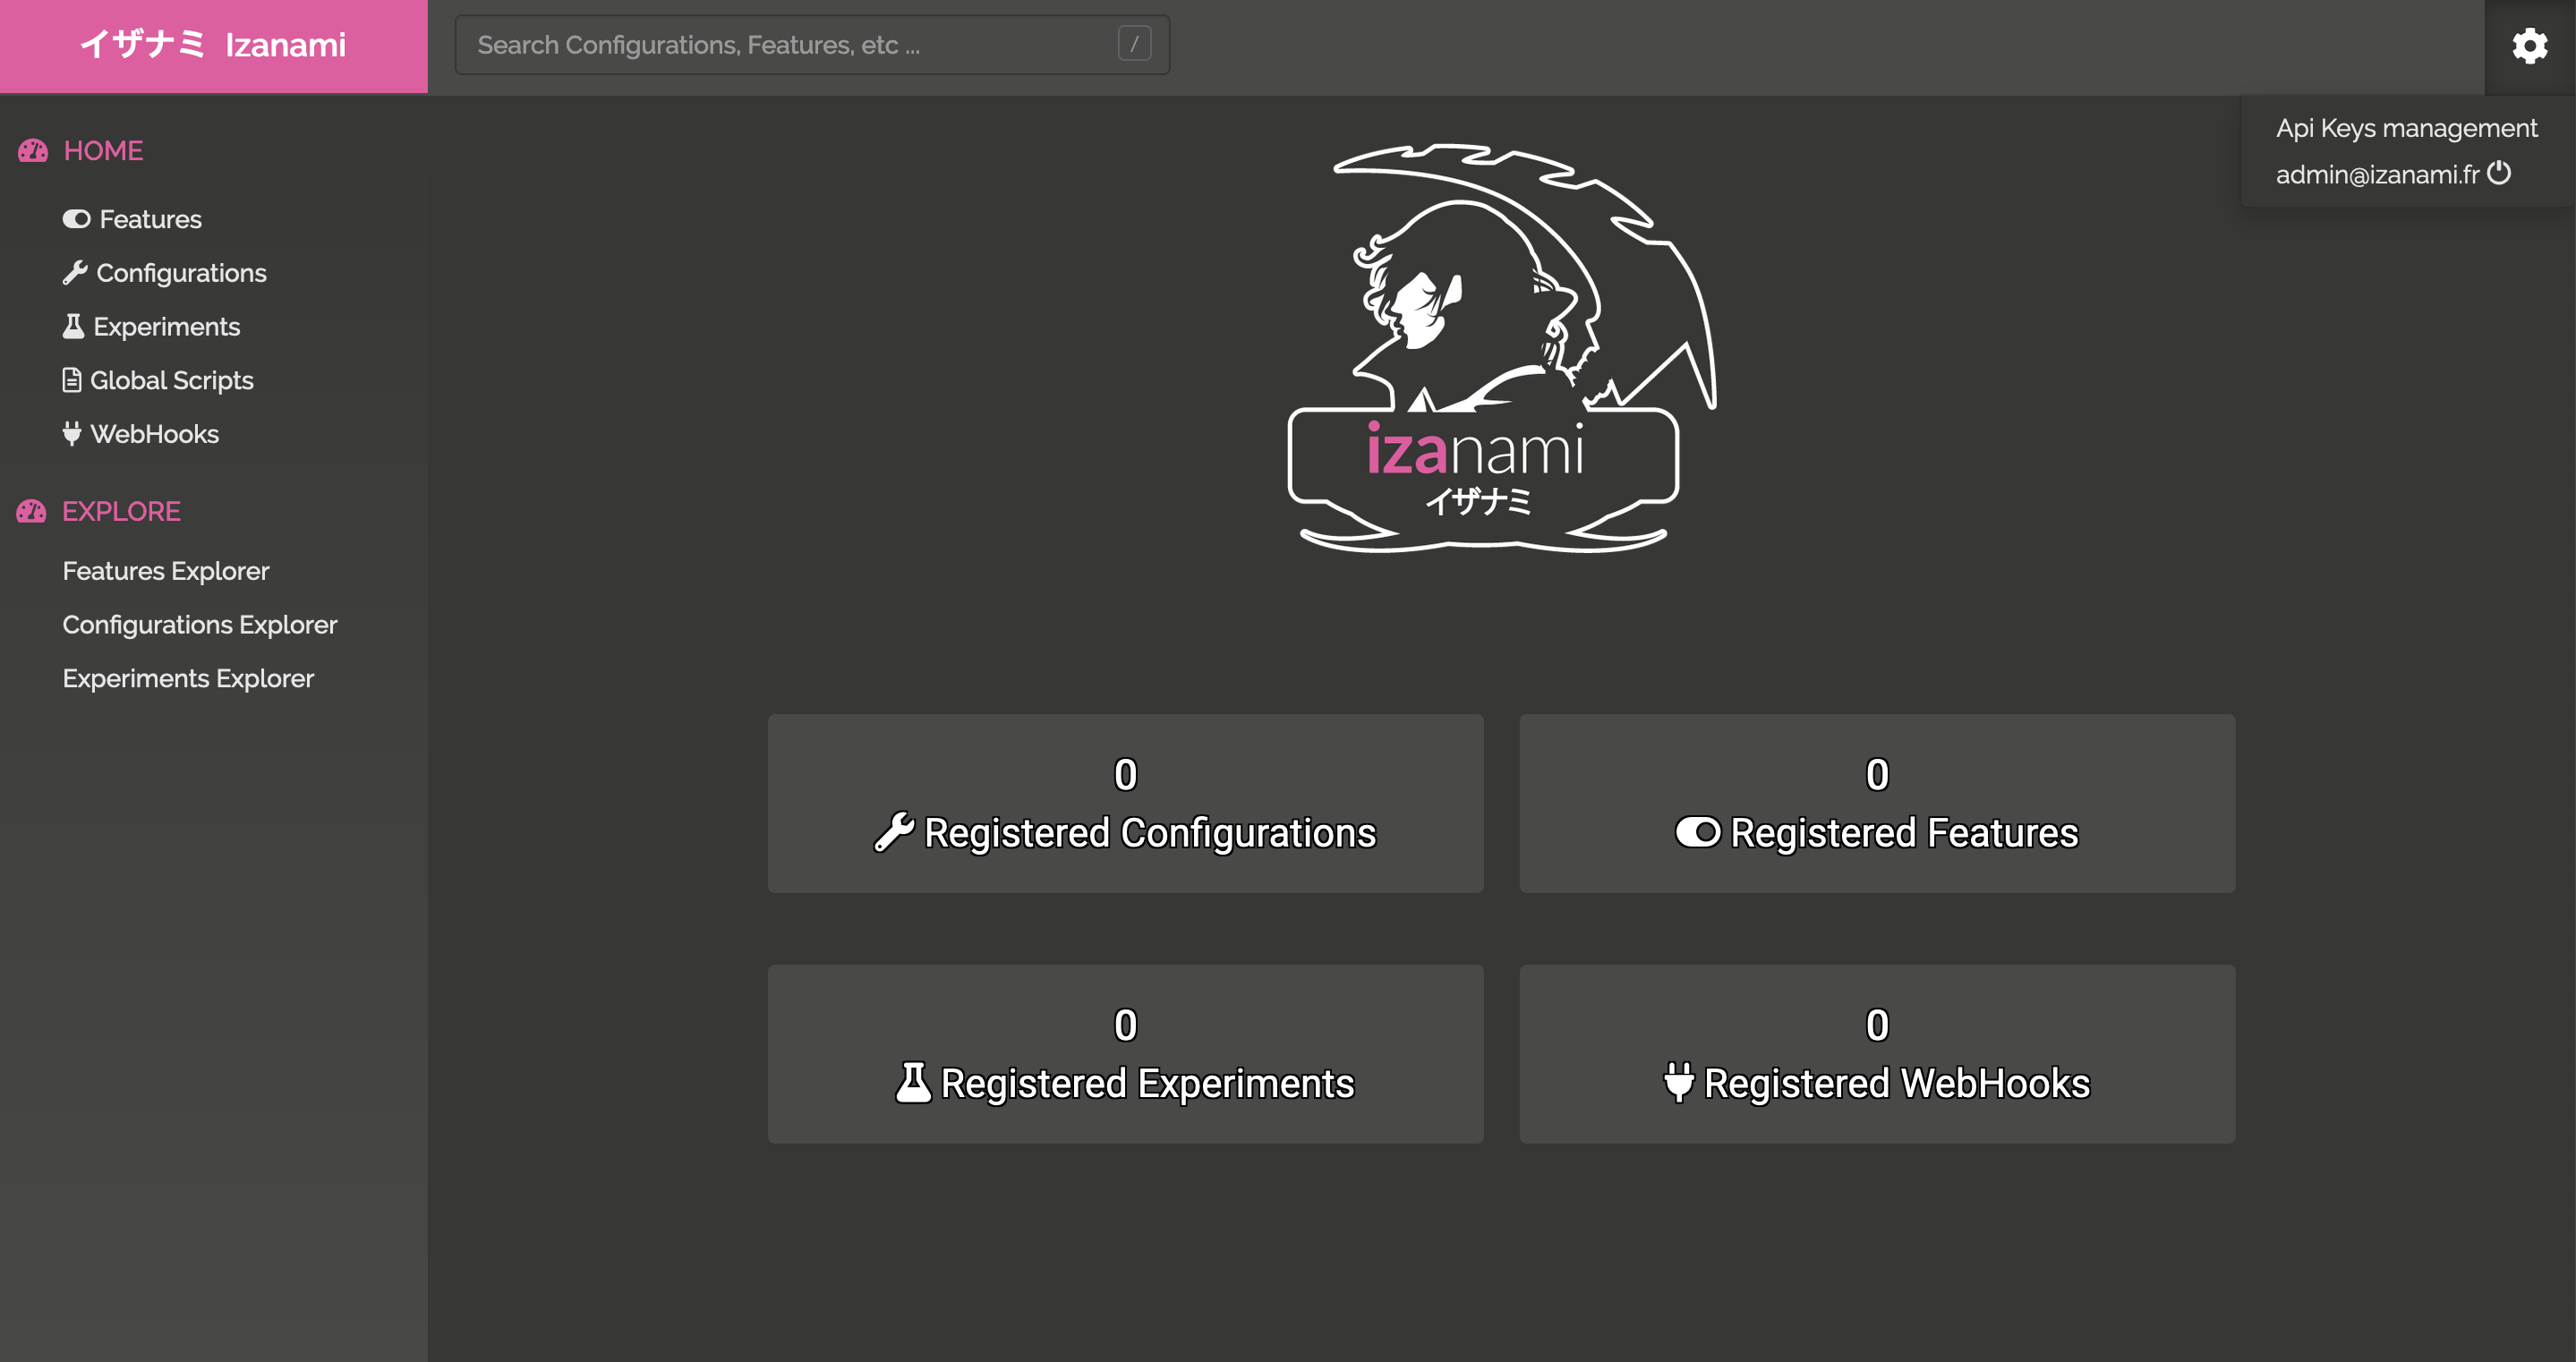
It's fine, the user has access to the api keys configuration, he is an admin.
Retry but this time using the johndoe account
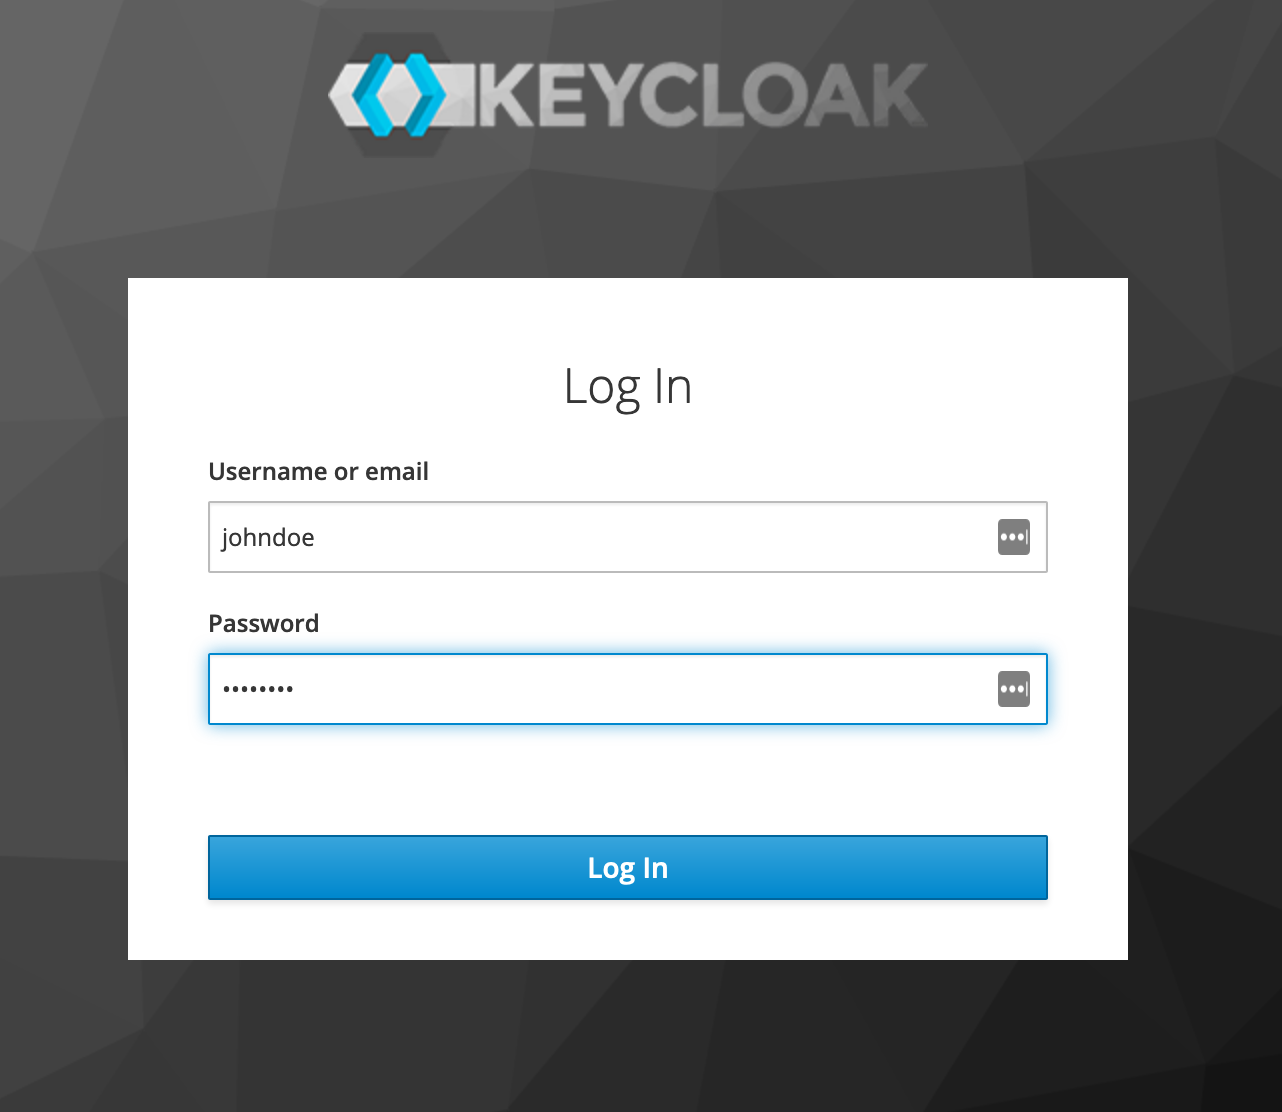
The api keys configuration, he is not available anymore
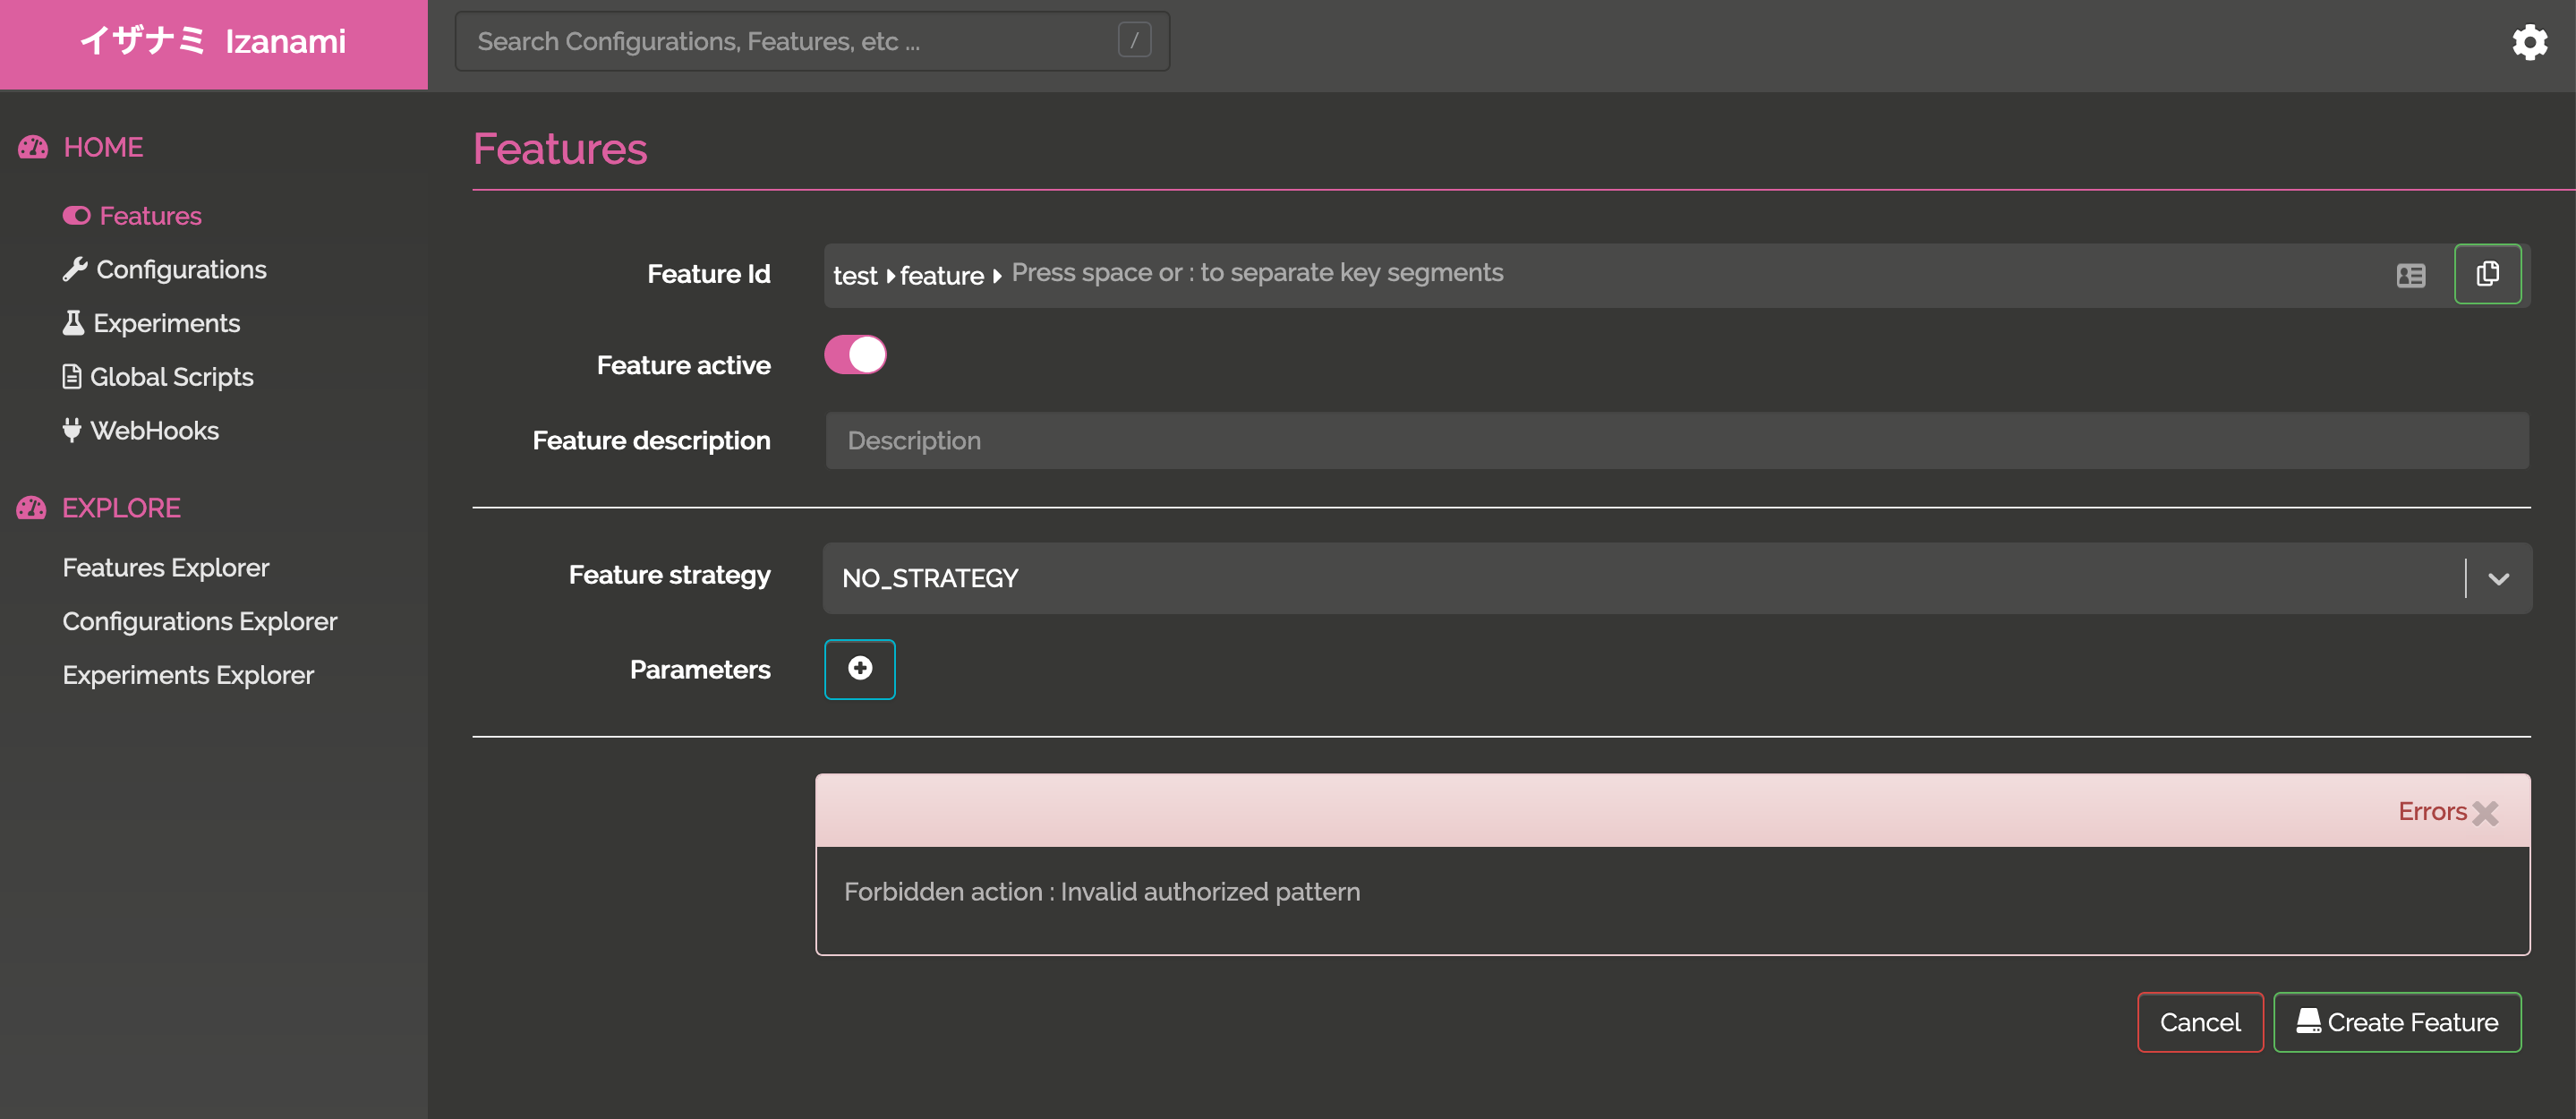
And the user is not able to create a feature with a pattern he is not allowed
Mutual TLS authentication
Generate certificates
Izanami supports MTLS authentication. To do this we need to use keycloak with https and define a client certificate.
First run
sh ./gen-cert.sh
This script will generate, the certificates needed to :
- use keycloak with https
- use keycloak with mts
- use izanami as client with mtls
At the end, in the keycloak-mtl folder, you will have
tls.crtandtls.keyfor the https part of keycloakca-client.bundlefor the mtls part of keyclaokserver.pemandclient.p12for izanami
Keycloak configuration
Then run keycloak :
docker-compose -f docker-compose.oauth.yml up
in the docker-compose, this setting enable https :
volumes:
  - ./keycloak-tls:/etc/x509/https
because, the docker image track /etc/x509/https/tsl.crt and /etc/x509/https/tsl.key.
and this settings define a client ca bundle for mtls :
X509_CA_BUNDLE: /etc/x509/https/ca-client.bundle
Now we have a keycloak server running with https and mtls configured, you can open the https://localhost:8943 in your browser.
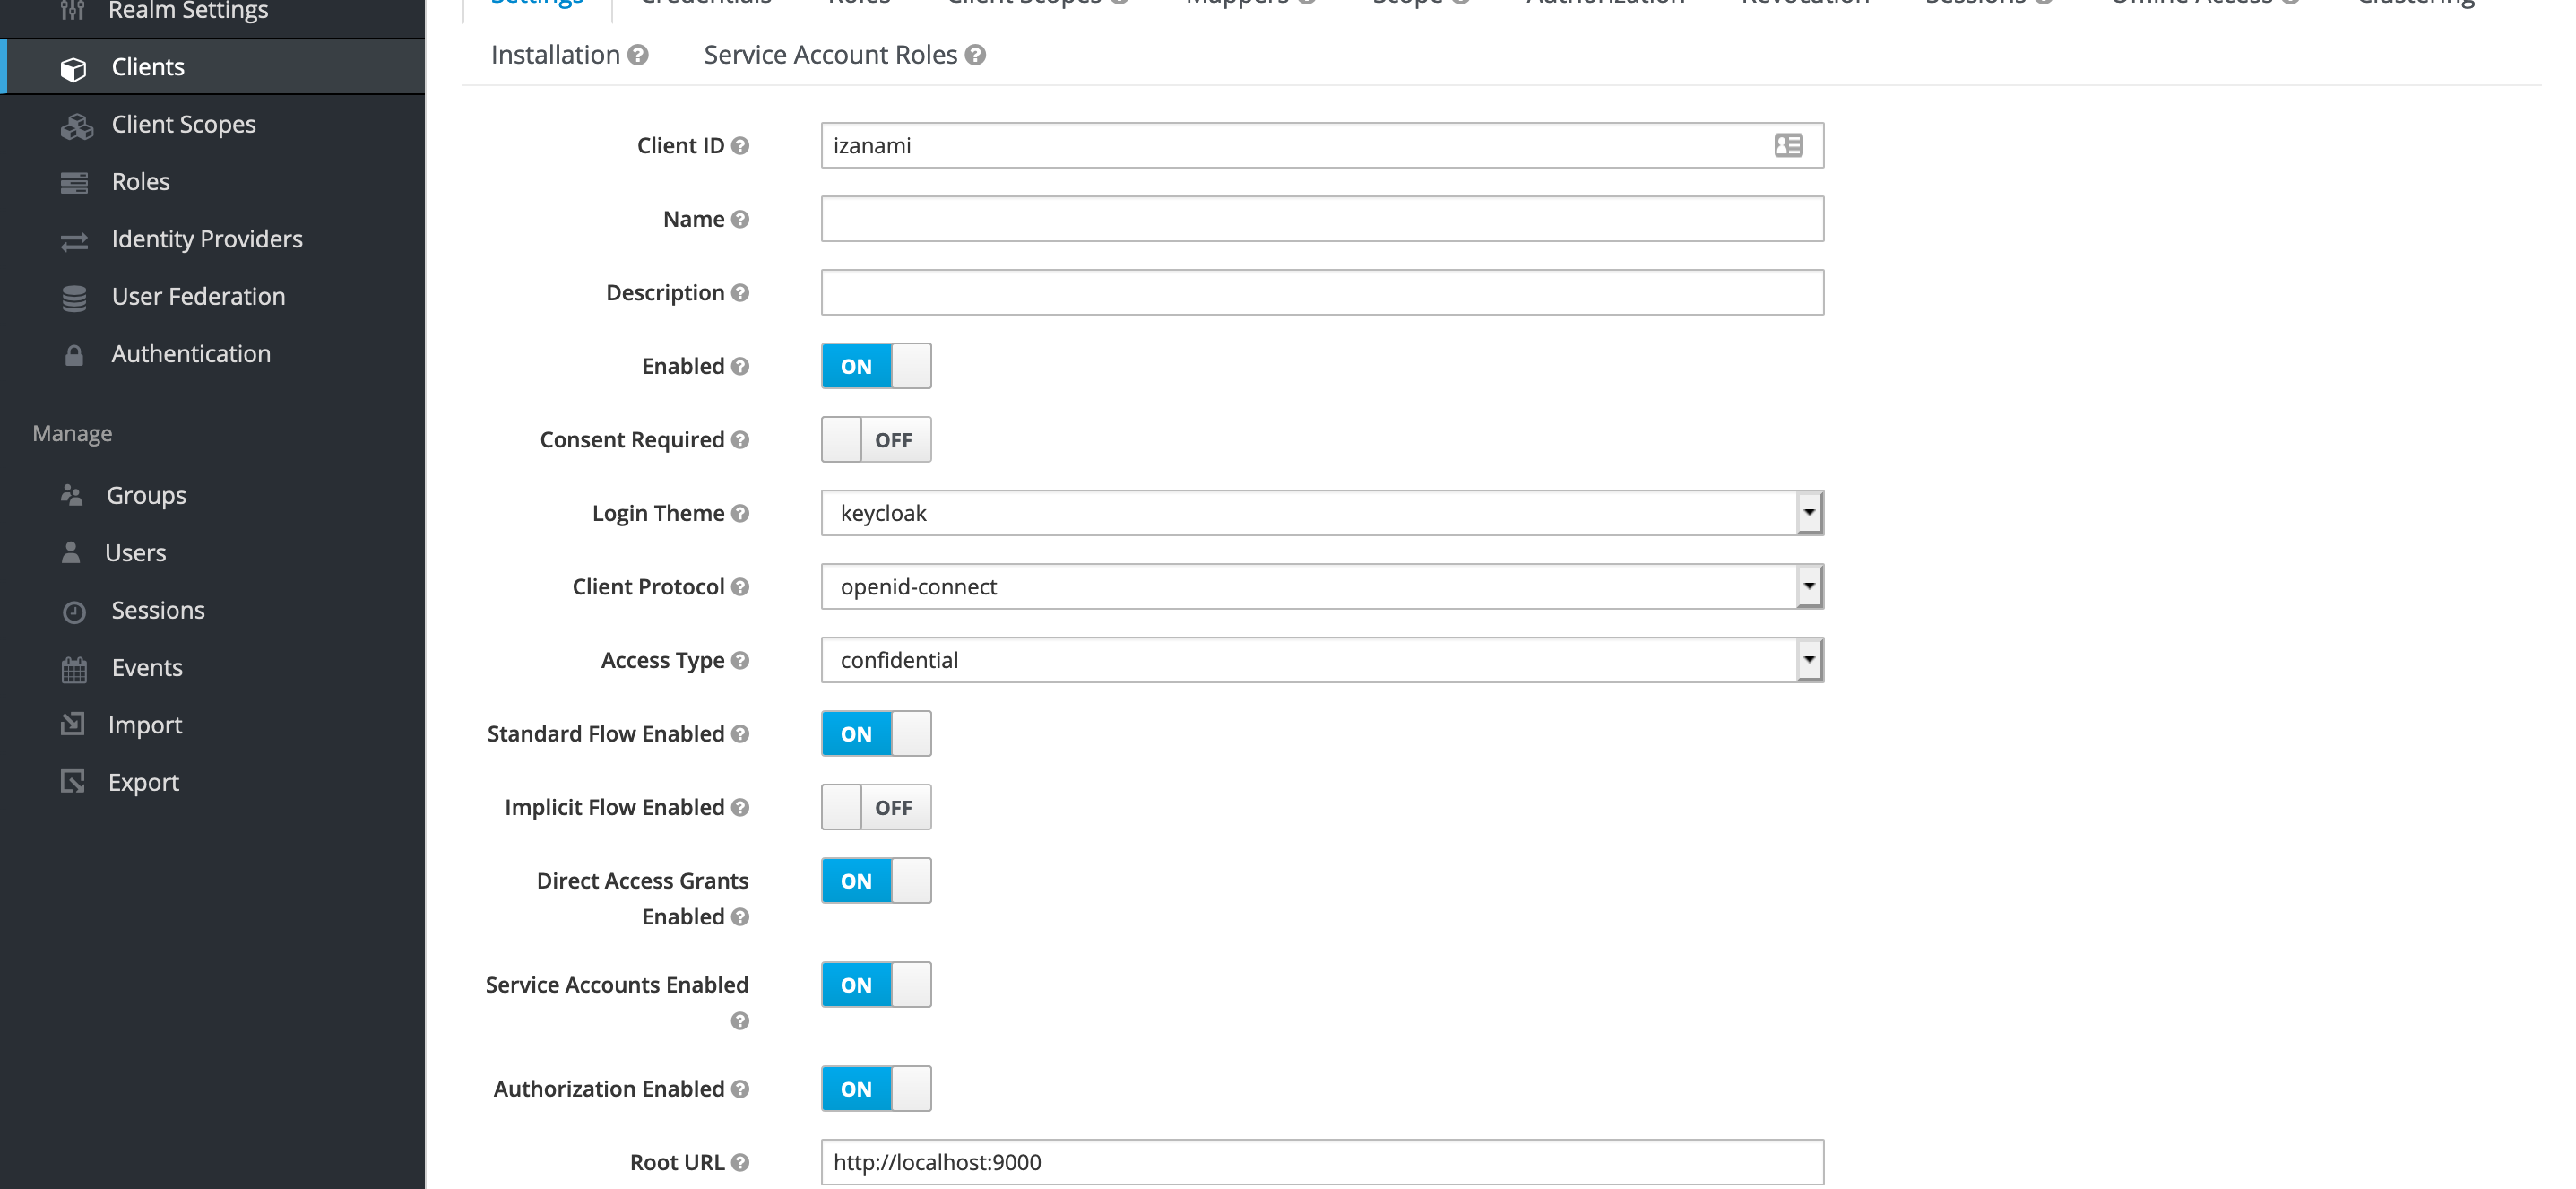
You can update the previous config
Access Type: should beconfidential. This displayService Accounts EnabledandAuthorization EnabledService Accounts Enabledshould be checkedAuthorization Enabledshould be checked
The Credentials menu appears.
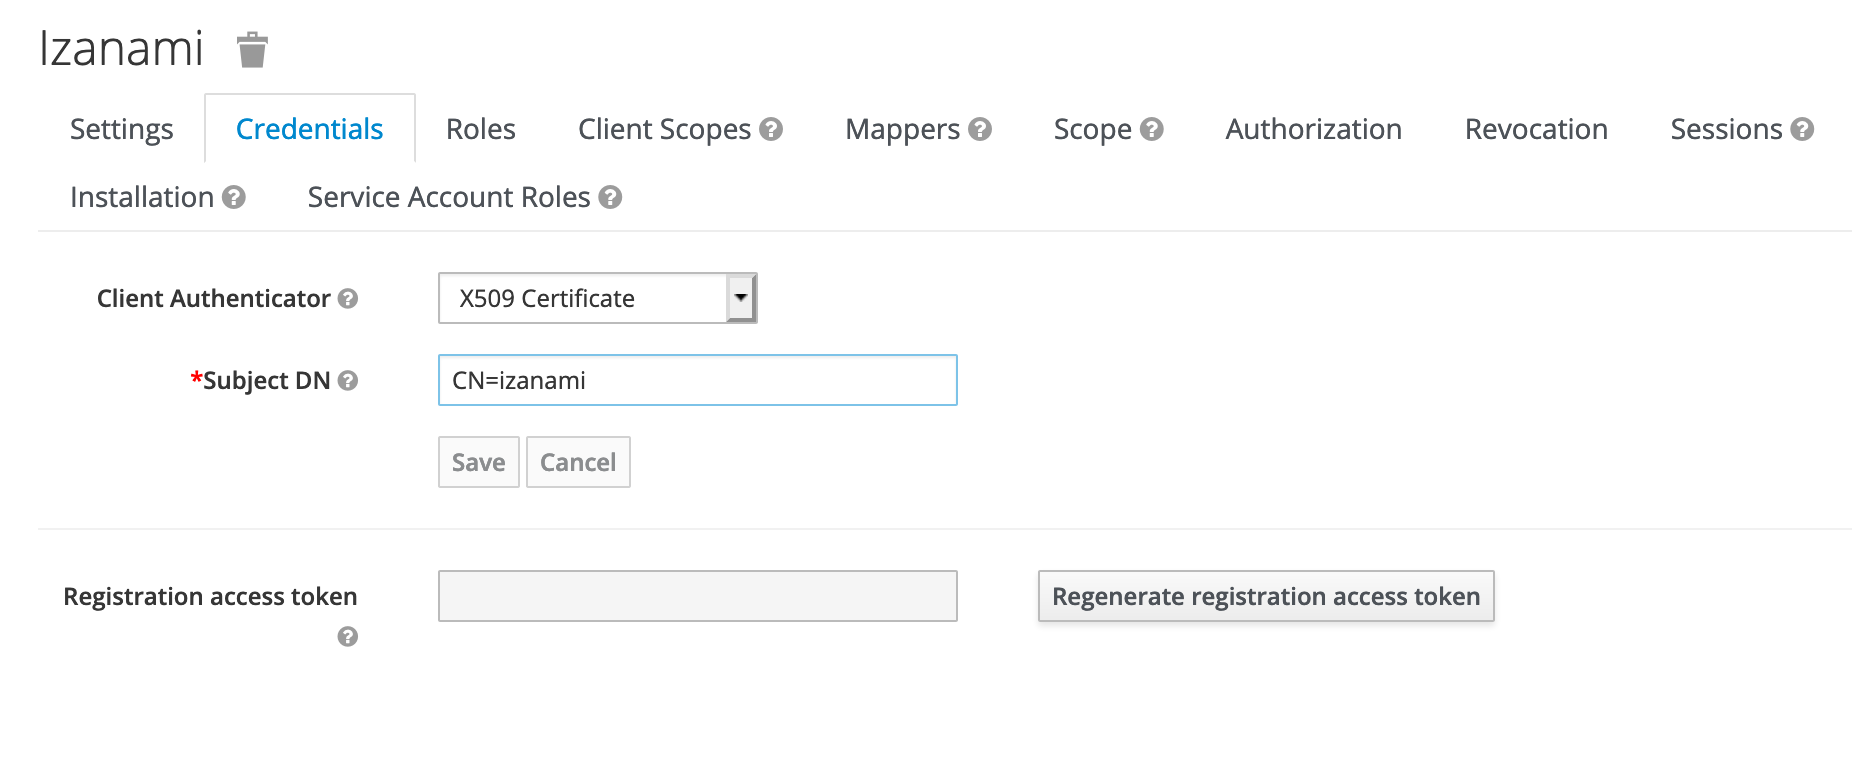
Client Authenticator: choose theX509 CertificateoptionSubject DN: Set the DN withCN=izanami
This is now done for the keycloak part!
Now we need to configure the Izanami part.
Izanami configuration
In the oauth configuration part of Izanami, we need to configure the mtls part, pointing to the files generated previously :
oauth2 {
  # ...
  mtls = {
    enabled = true
    ssl-config {
      #...
      trustManager {
        stores = [
          {
            path: "./keycloak-tls/server.pem"
            type: "PEM"
          }
        ]
      }
      keyManager {
        stores = [
          { path= "./keycloak-tls/client.p12"
            password="izanami"
            type= "PKCS12"}
        ]
      }
    }
  }
}
You can find more option about the SSL config on this link: https://lightbend.github.io/ssl-config/index.html.
That it !